Skip to Main Content
May 13 Senior Night Awards
May 7 Senior Sunset
April 28 Jazz and Percussion Concert
May 17 Graduation
May 12 Senior Breakfast
The Raider Wire
Instagram
Tiktok
RSS Feed
Search this site
Submit Search
Open Navigation Menu
The Raider Wire
News
Features
Sports
Opinion
Literature
Magazine
About
Staff
The Raider Wire
Open Search Bar
Search this site
Submit Search
Open Navigation Menu
The Raider Wire
News
Features
Sports
Opinion
Literature
Magazine
About
Staff
The Raider Wire
Open Search Bar
Search this site
Submit Search
All content by Photo by Chase Samples
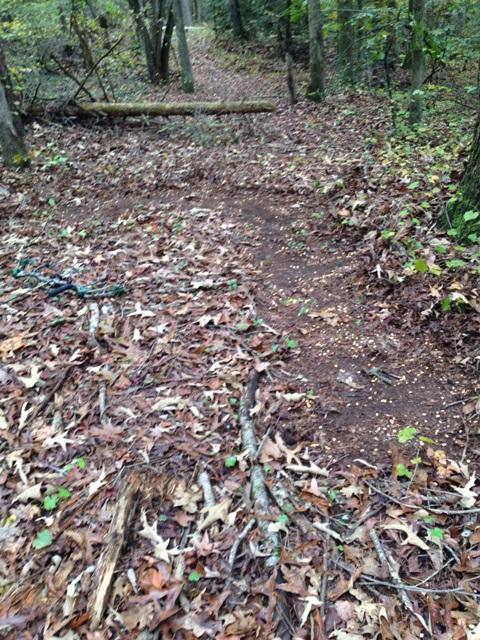
[Photo] Poachers: The Deadliest Thing in the Woods
Chase Samples
, Staff Writer
December 12, 2013
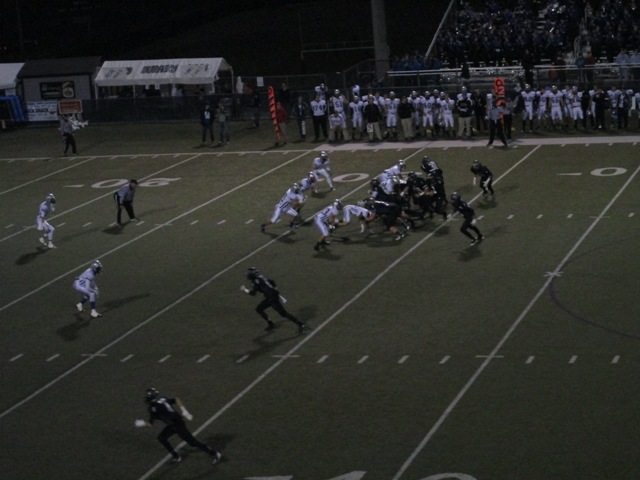
[Photo] North vs. South: Raiders Push To Playoffs
Chase Samples
, Friday Links
November 12, 2013
Load More Stories
Close
Close Modal Window
Close