
The Perfect Origami Folds For Valentine’s

Origami Hearts make fun gifts for your friends on Valentine’s!
I first began folding origami when my grandmother bought me origami paper and a book, thinking that I loved origami, but I actually complained to her previously about how bad I was at origami after my failed attempt at it at school. Since my grandmother had already bought me the origami paper, I thought I would go ahead and give origami another try, which I ended up really enjoying the art of folding.
Supplies:
- Scissors — There are some steps where scissors are required but not all the time.
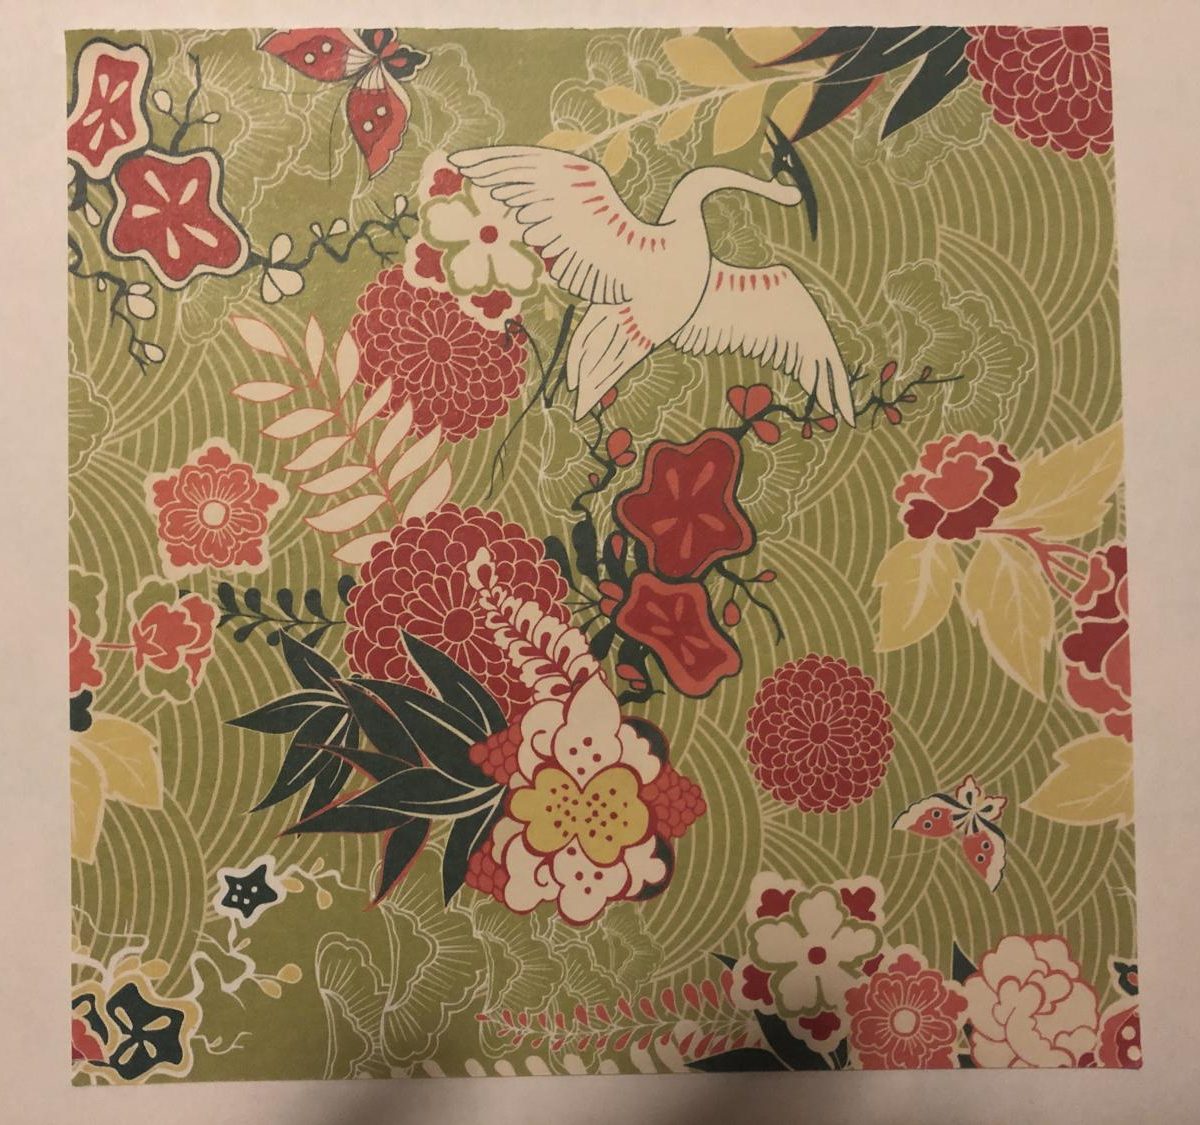
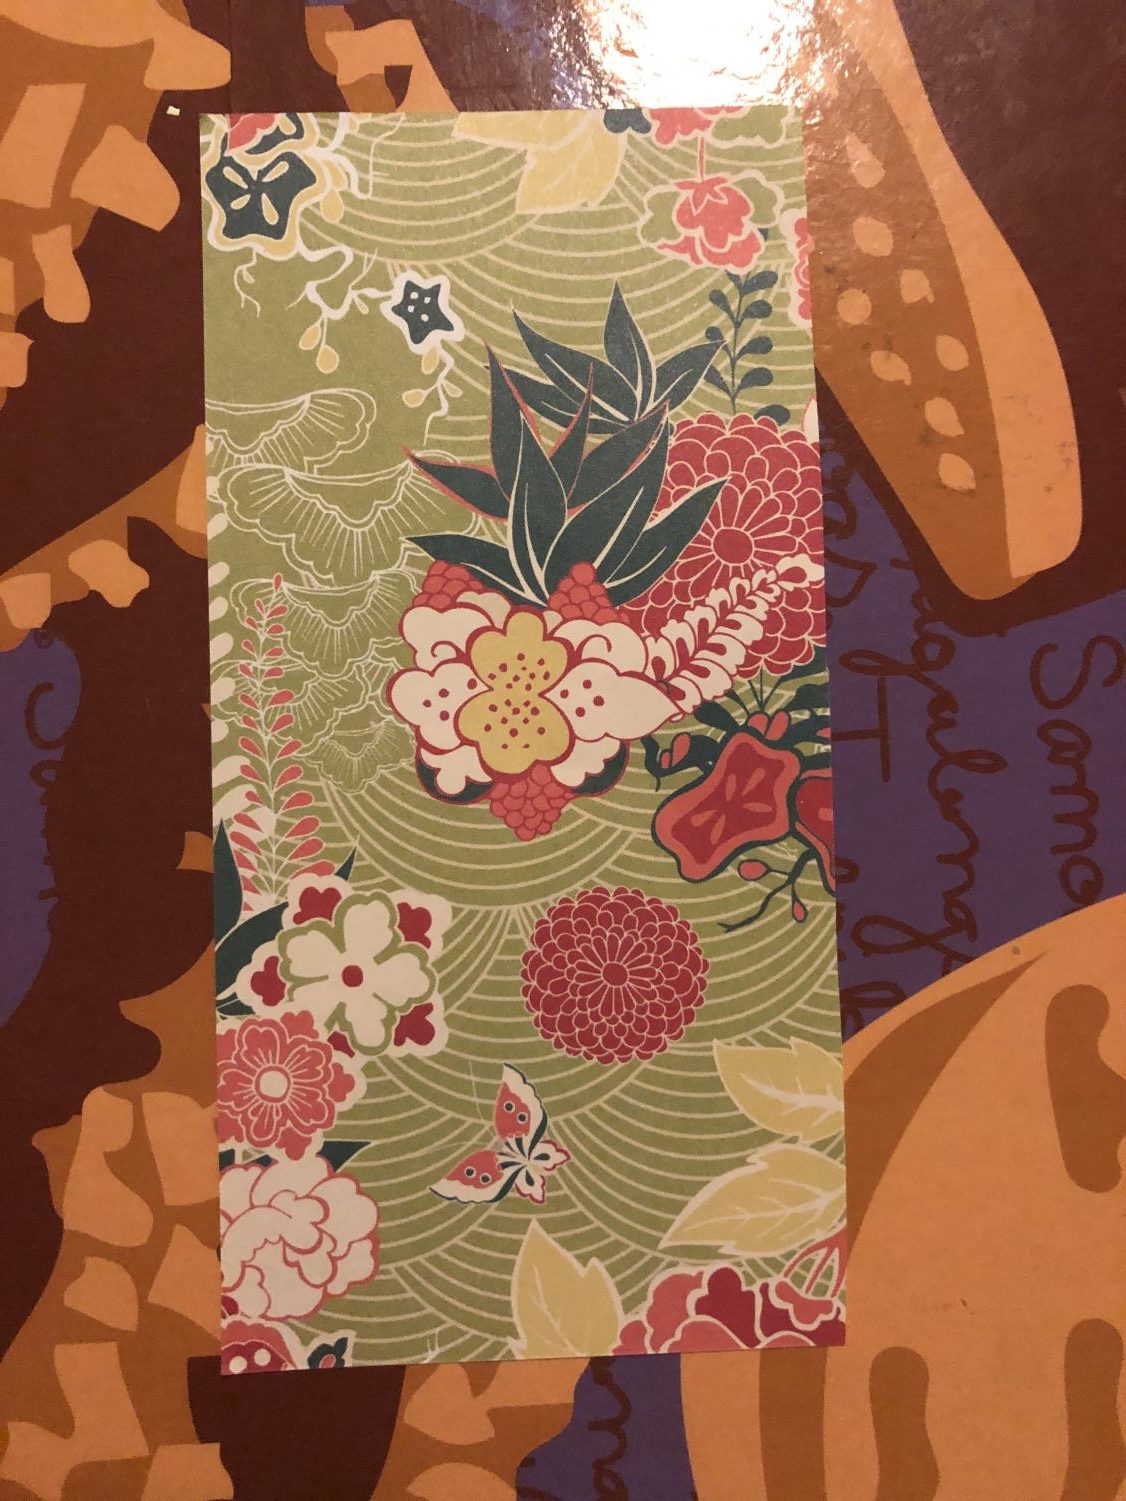
- Origami Paper — It should be a perfect square and thinner than normal paper. I bought my origami paper at Barnes and Noble in the craft section; however, the paper is in a book and is really hard to tear out. Amazon has an endless amount of different colored papers for reasonable prices, and any craft store will most likely have some as well.
- Origami Book — This is not a requirement, but books are an easy way to learn how to fold origami. I learned how to fold paper with an origami calendar as well as a book. There are also many directions that can be found on the internet and YouTube.
*Tip: It is very important to be precise as possible when folding as it may not turn out the way it is supposed to if it is not folded correctly.
-
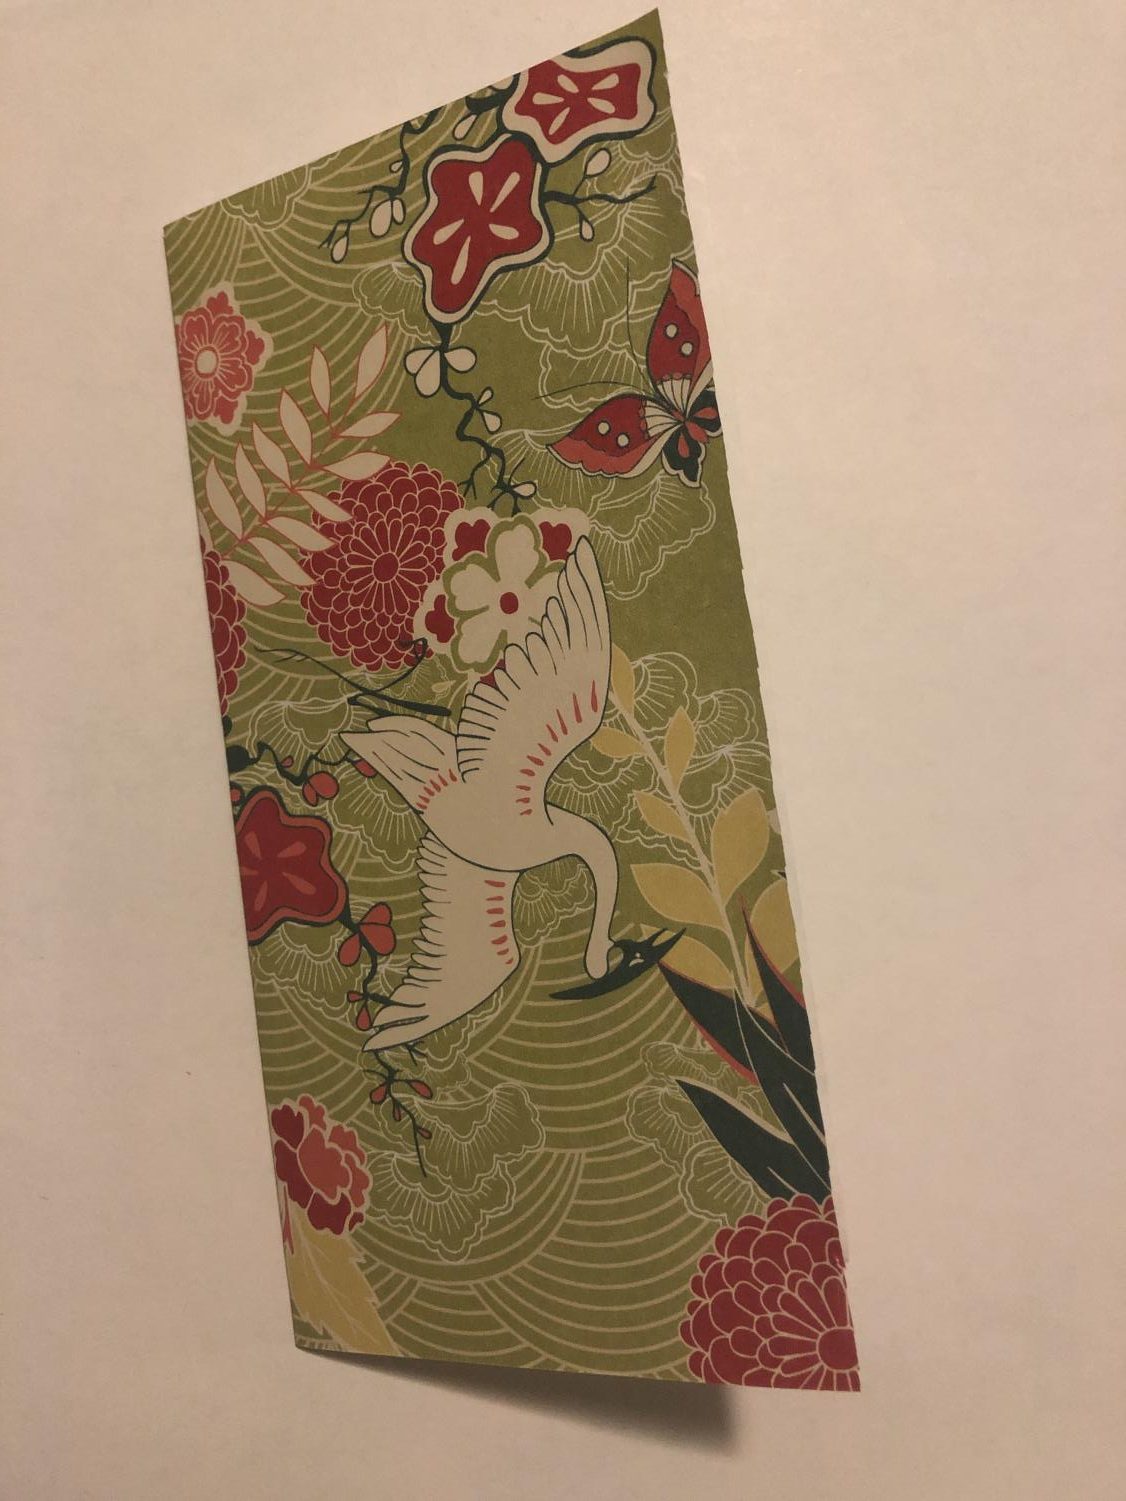
Let’s start out with something simple: Hearts. Step one: Get out a piece of origami paper out and flip it over to the blank side.
-
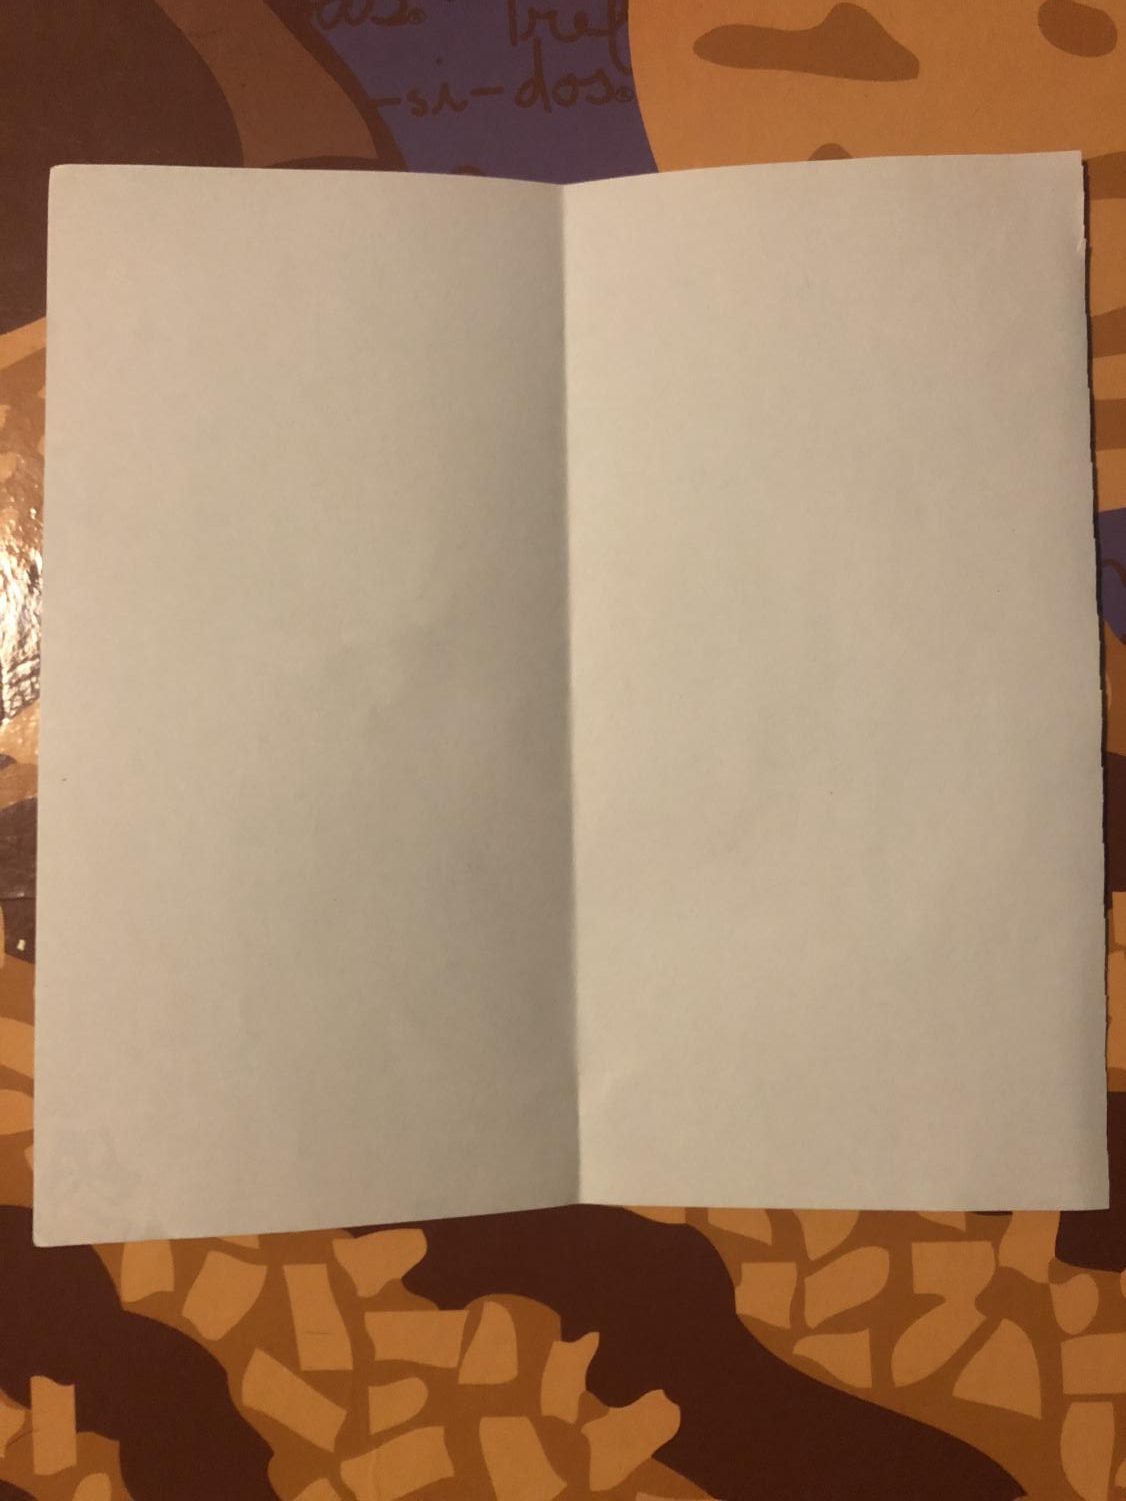
Step two: Fold the paper in half and then unfold.
-
Step two: Fold the paper in half and then unfold.
-
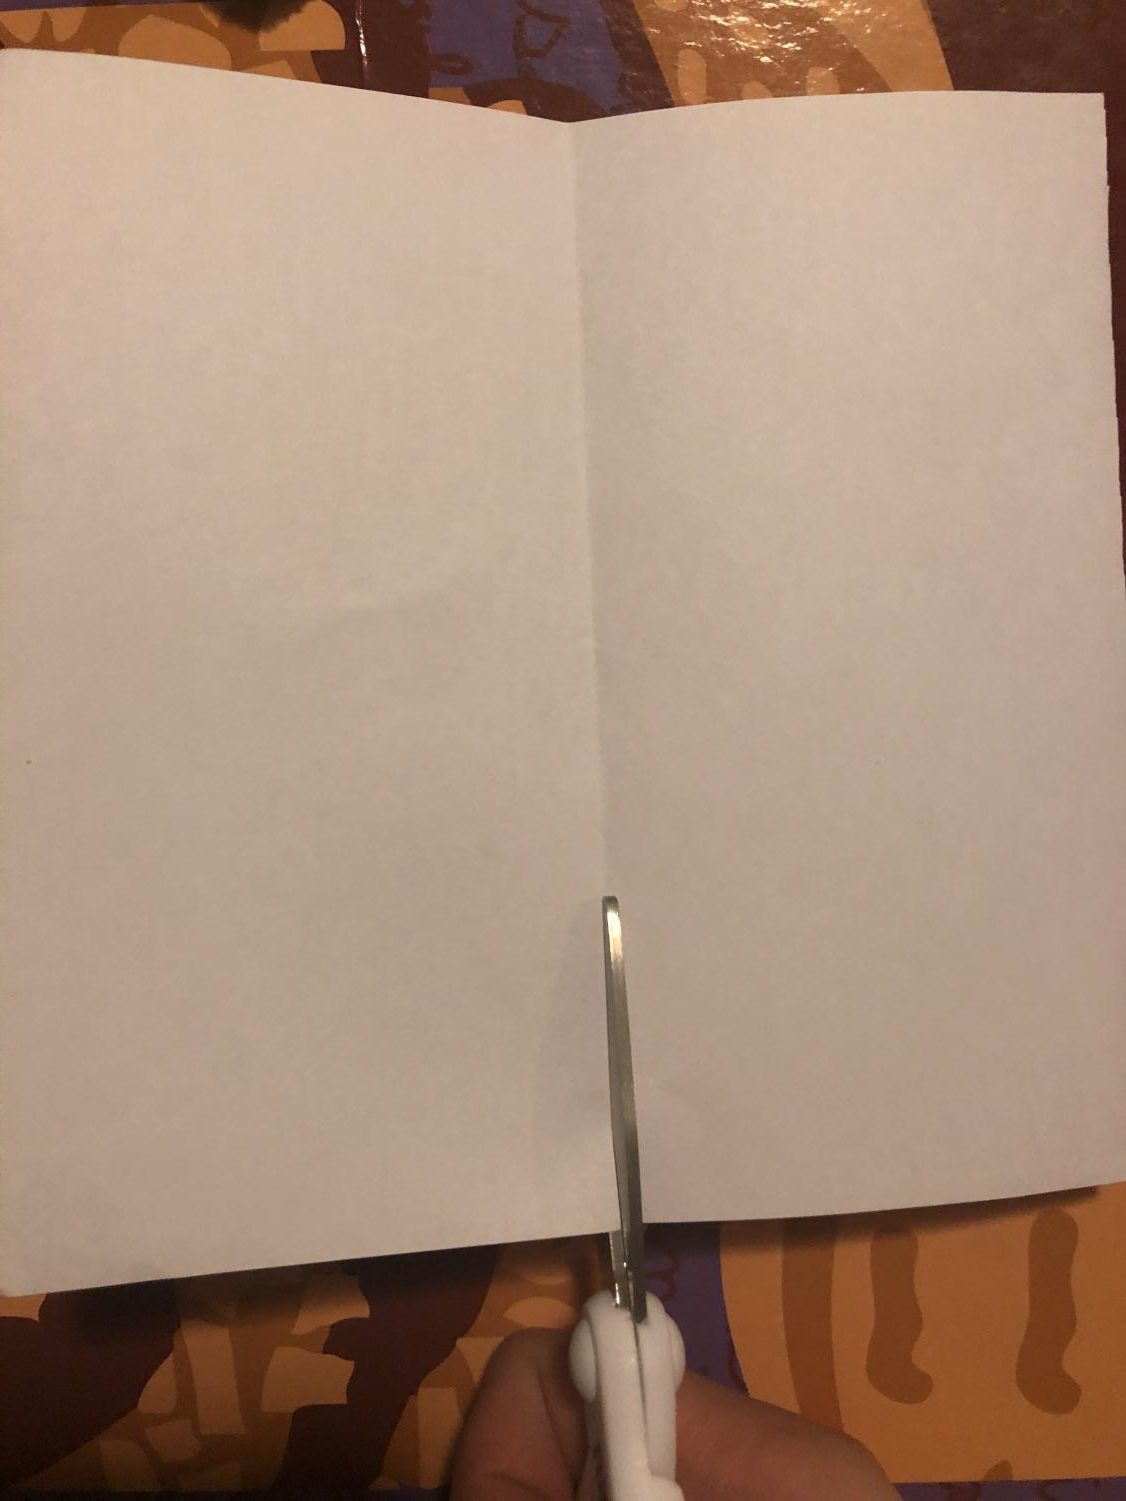
Step three: Cut along the crease with scissors as only one half is required to make one heart, which means one origami sheet can make two hearts.
-
Step three: Cut along the crease with scissors as only one half is required to make one heart, which means one origami sheet can make two hearts.
-
Step four: Pick whichever half to make one heart with. Fold the sheet in half and then unfold.
-
Step four: Pick whichever half to make one heart with. Fold the sheet in half and then unfold.
-
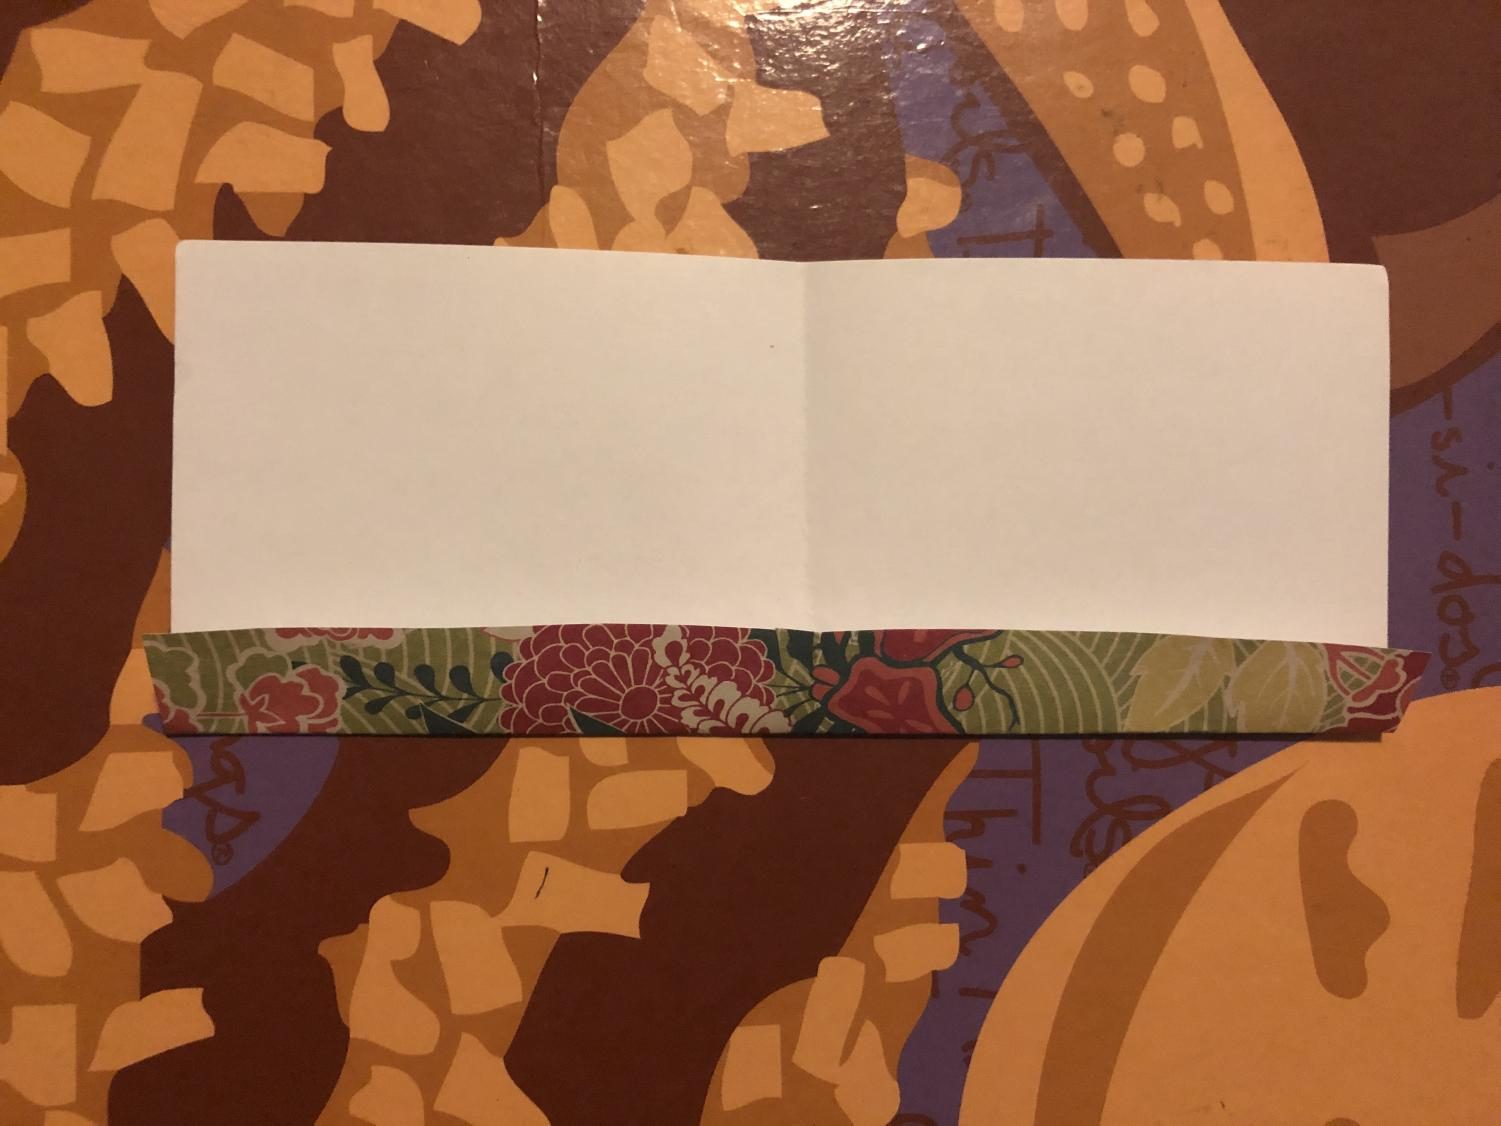
Step five: Fold the bottom edge of the paper.
-
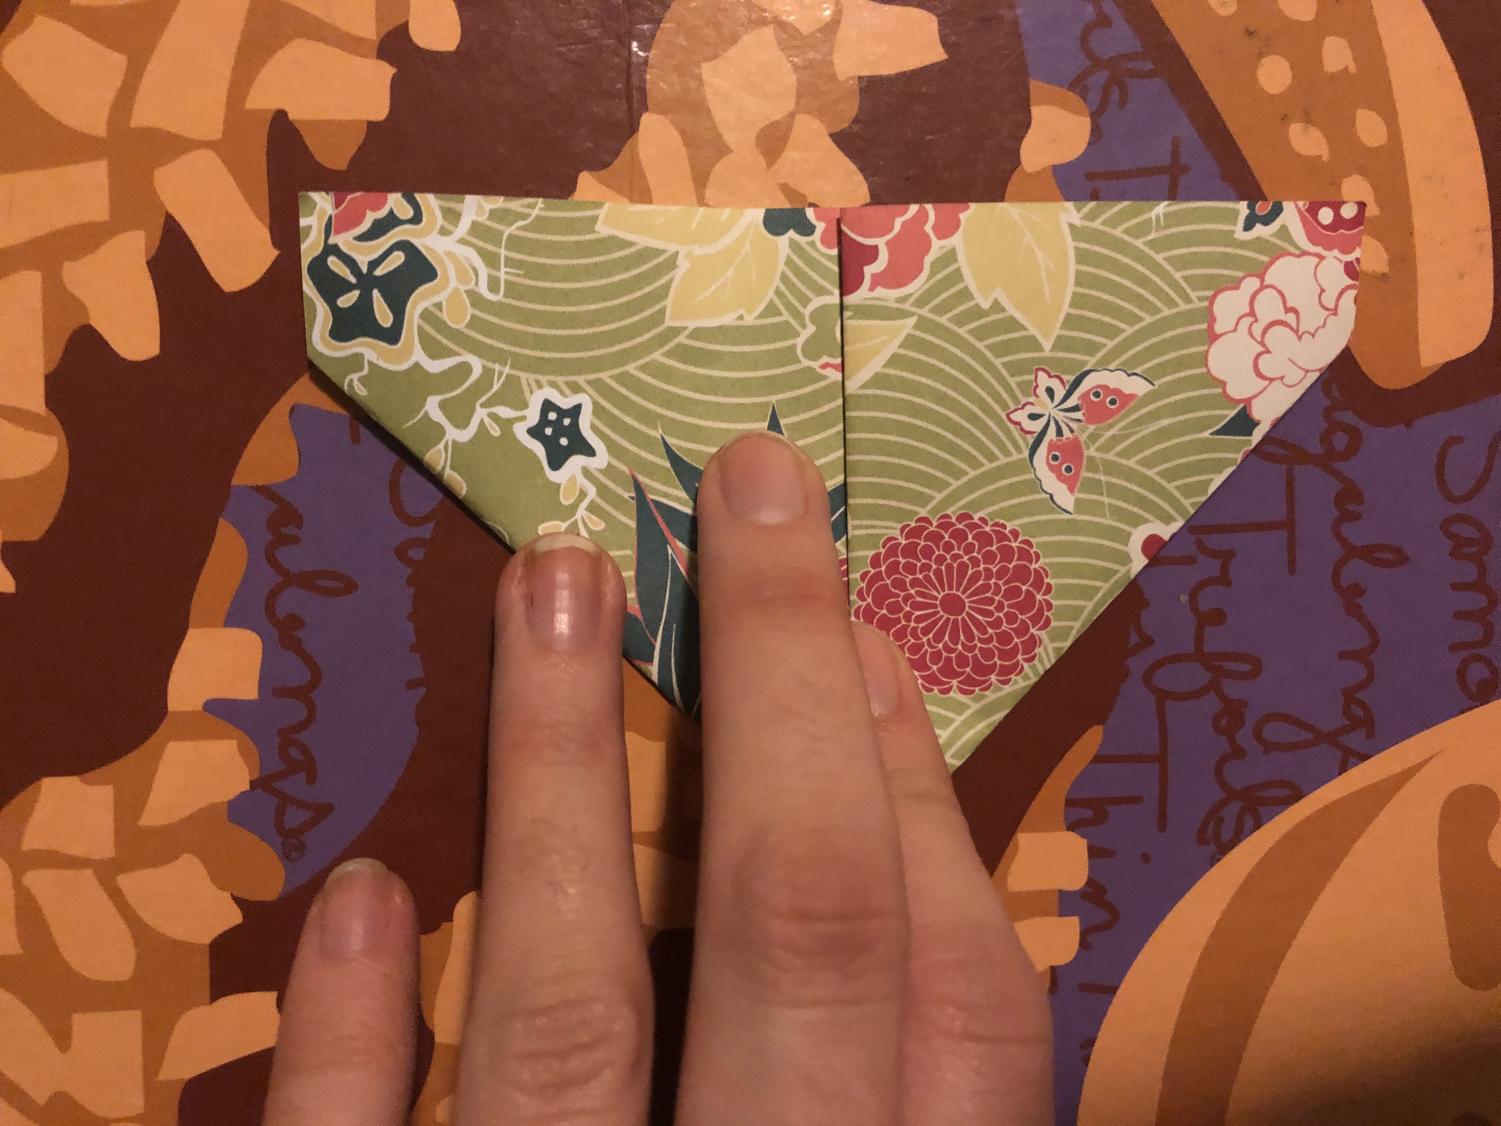
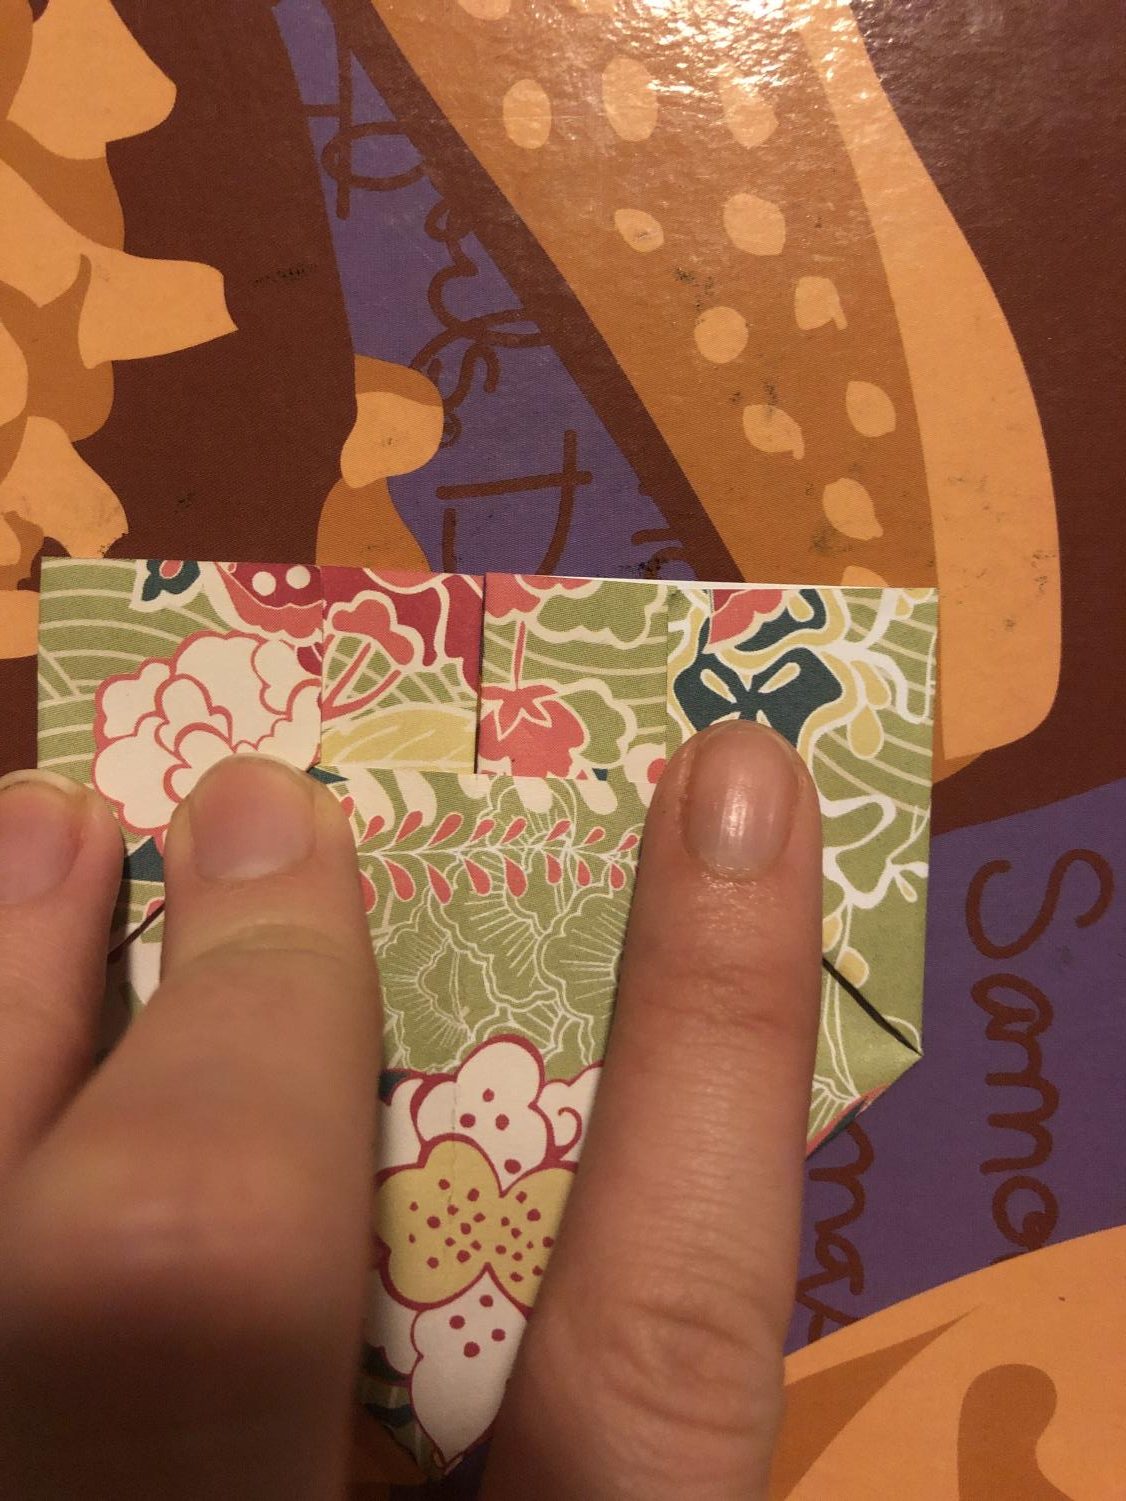
Step six: Fold both bottom corners to the middle crease as shown in the image.

-
Step six: Fold both bottom corners to the middle crease as shown in the image.
-
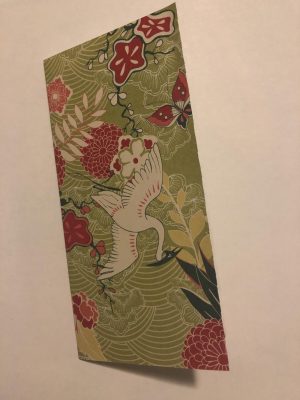
Step seven: Flip the paper to the other side.
-
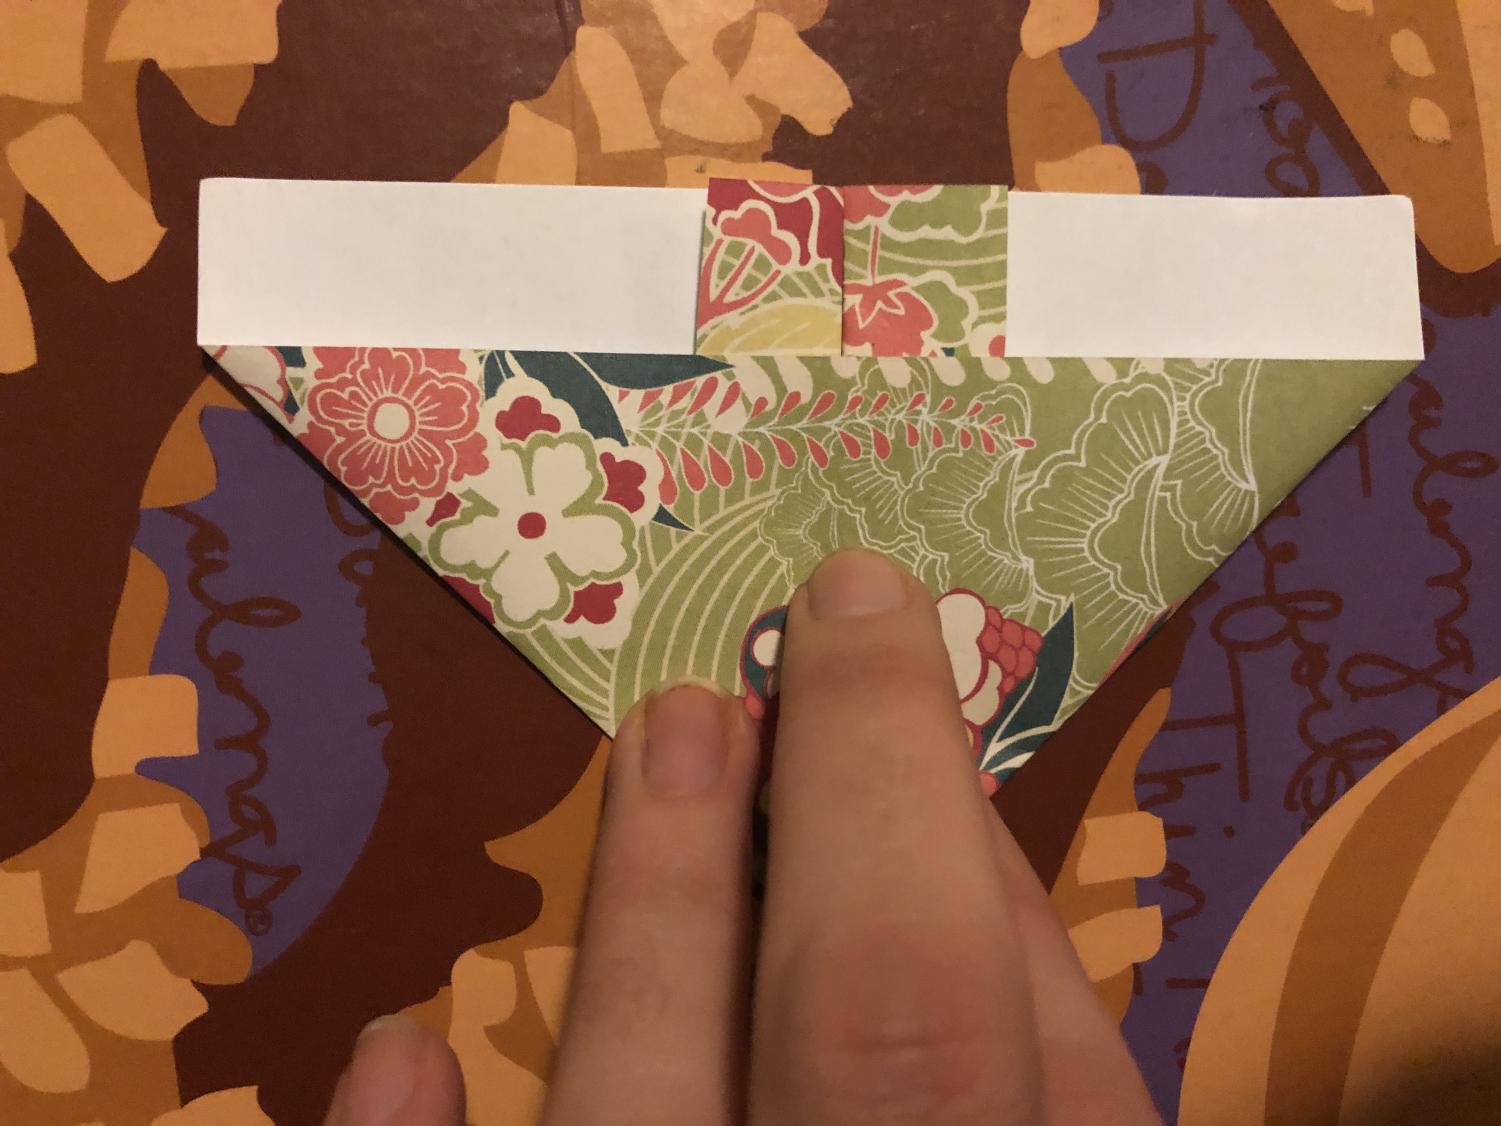
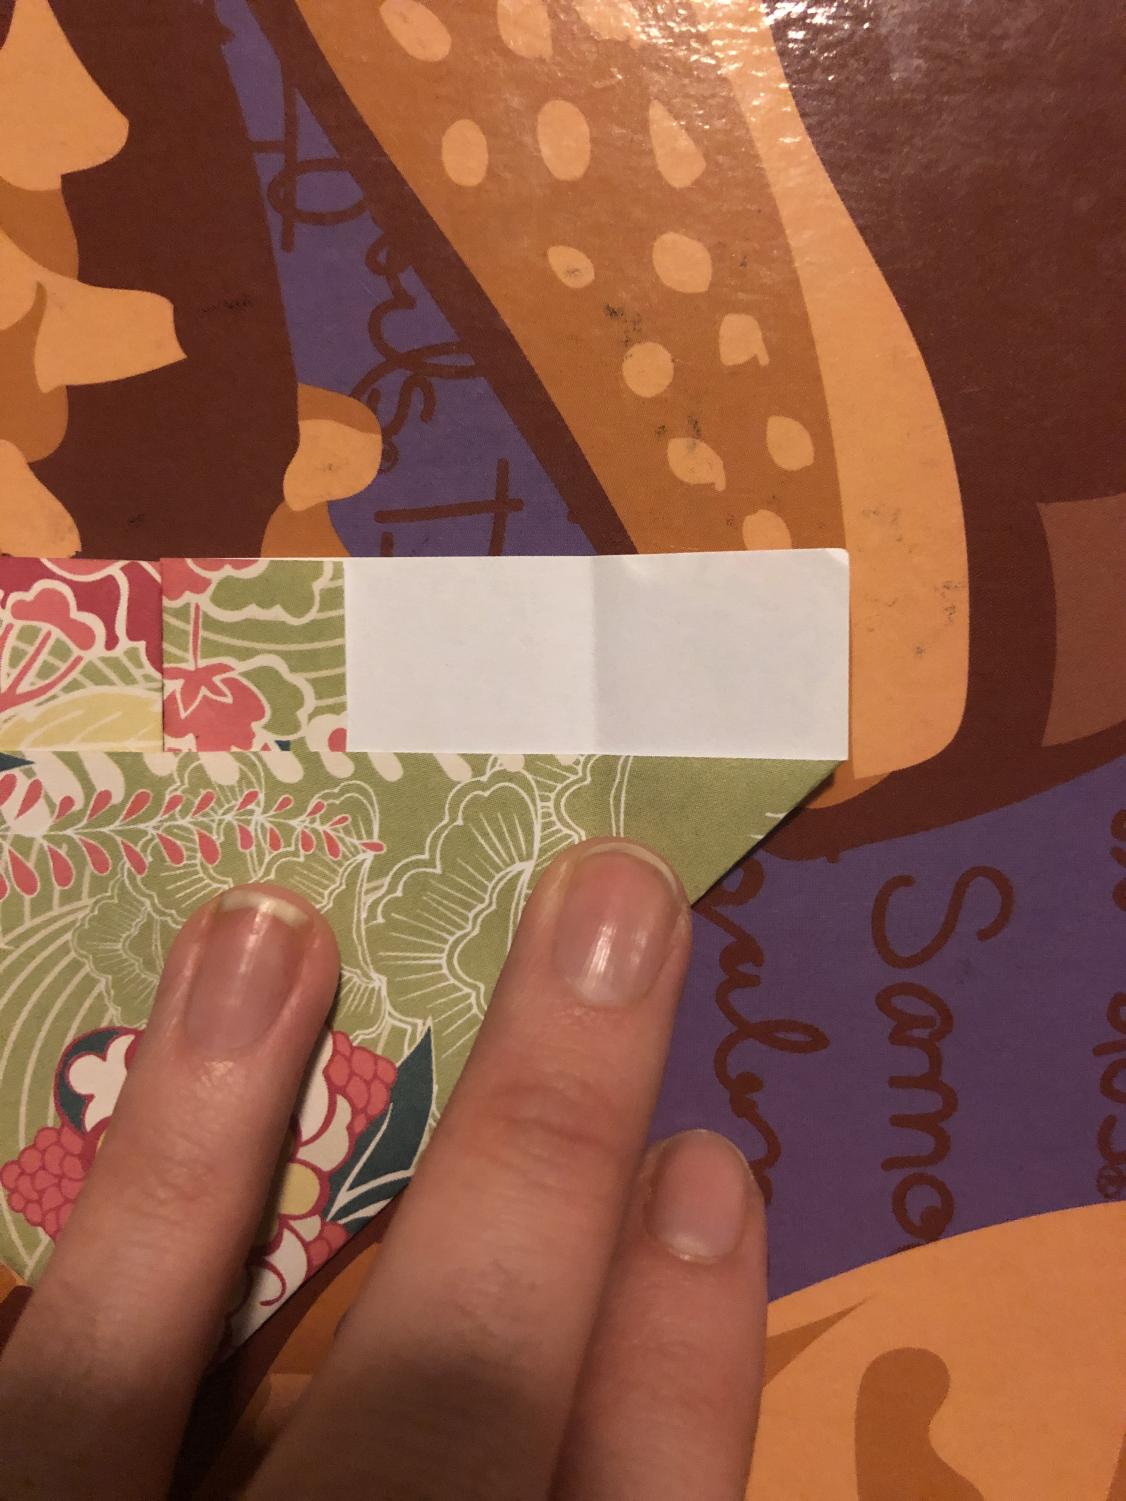
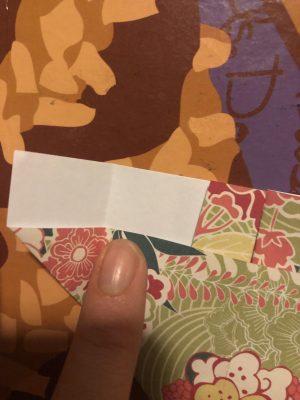
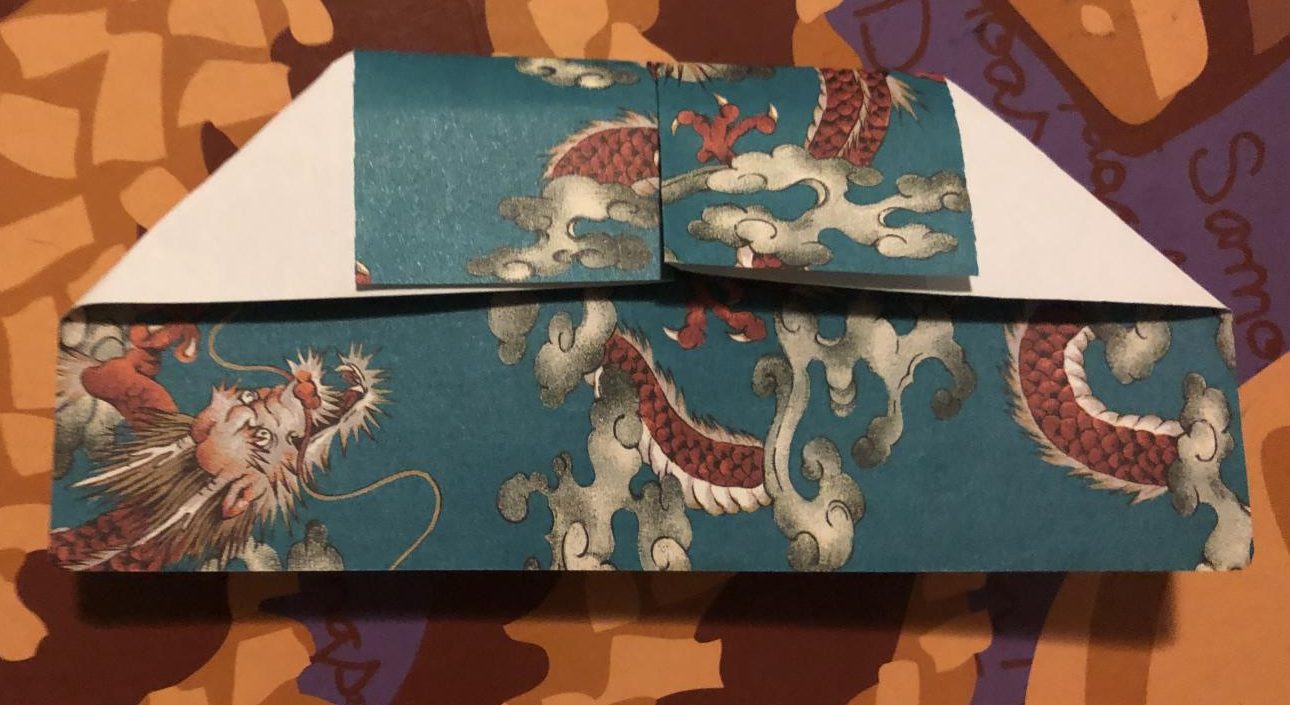
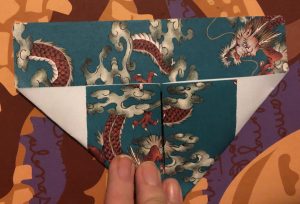
Step eight: Fold the top two corners over until no white is showing as shown in the images below.
-
Step eight: Fold the top two corners over until no white is showing as shown in the images below.

-
Step eight: Fold the top two corners over until no white is showing as shown in the images below.
-
Step eight: Fold the top two corners over until no white is showing as shown in the images below.
-
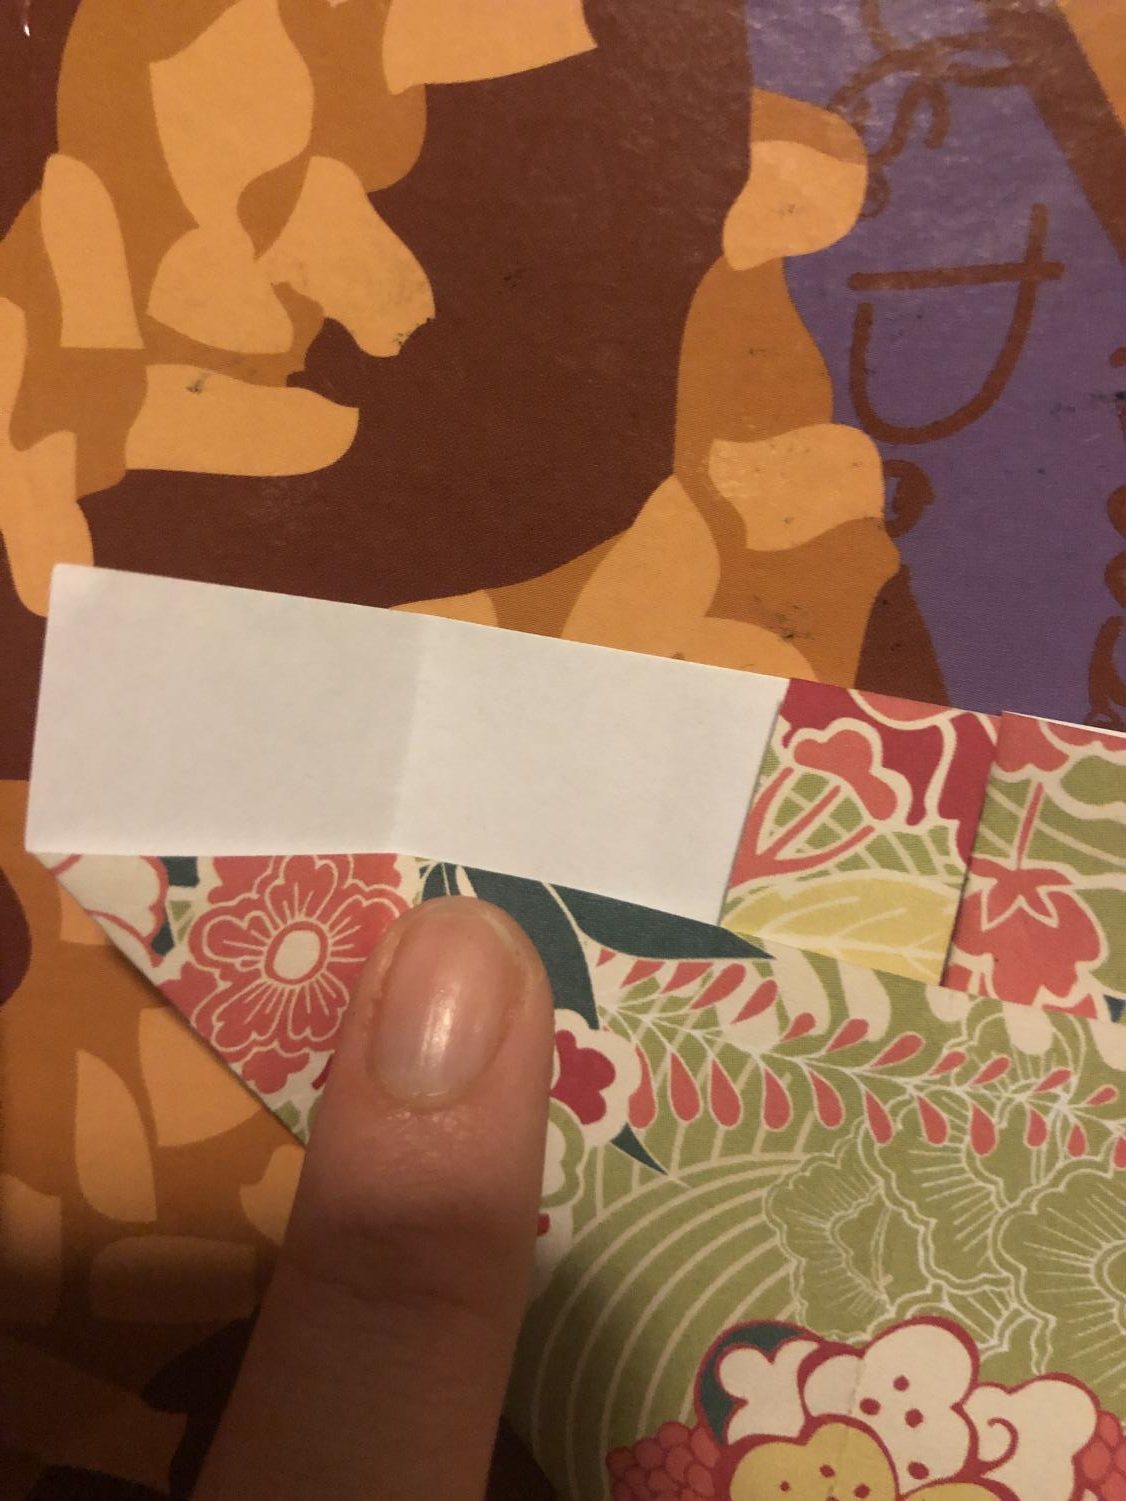
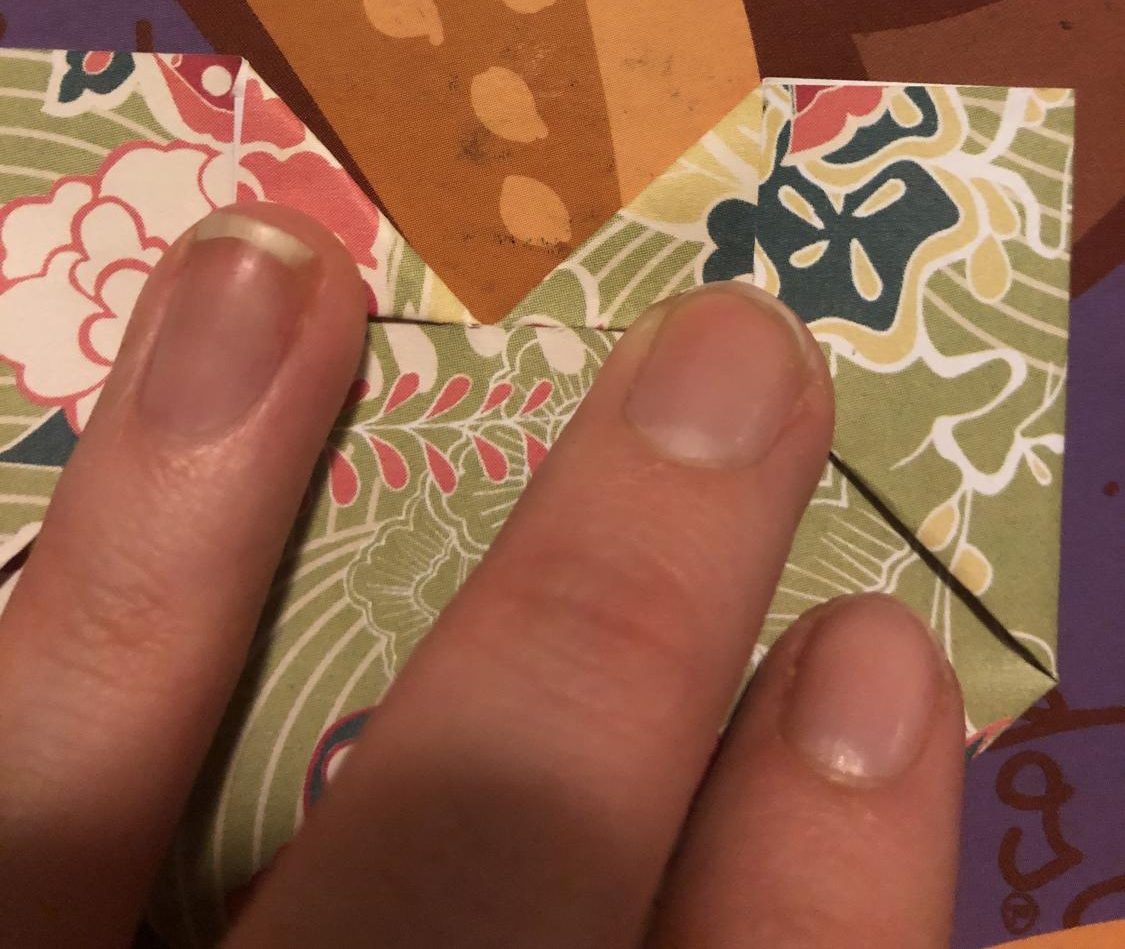
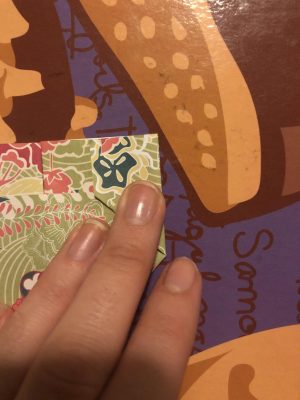
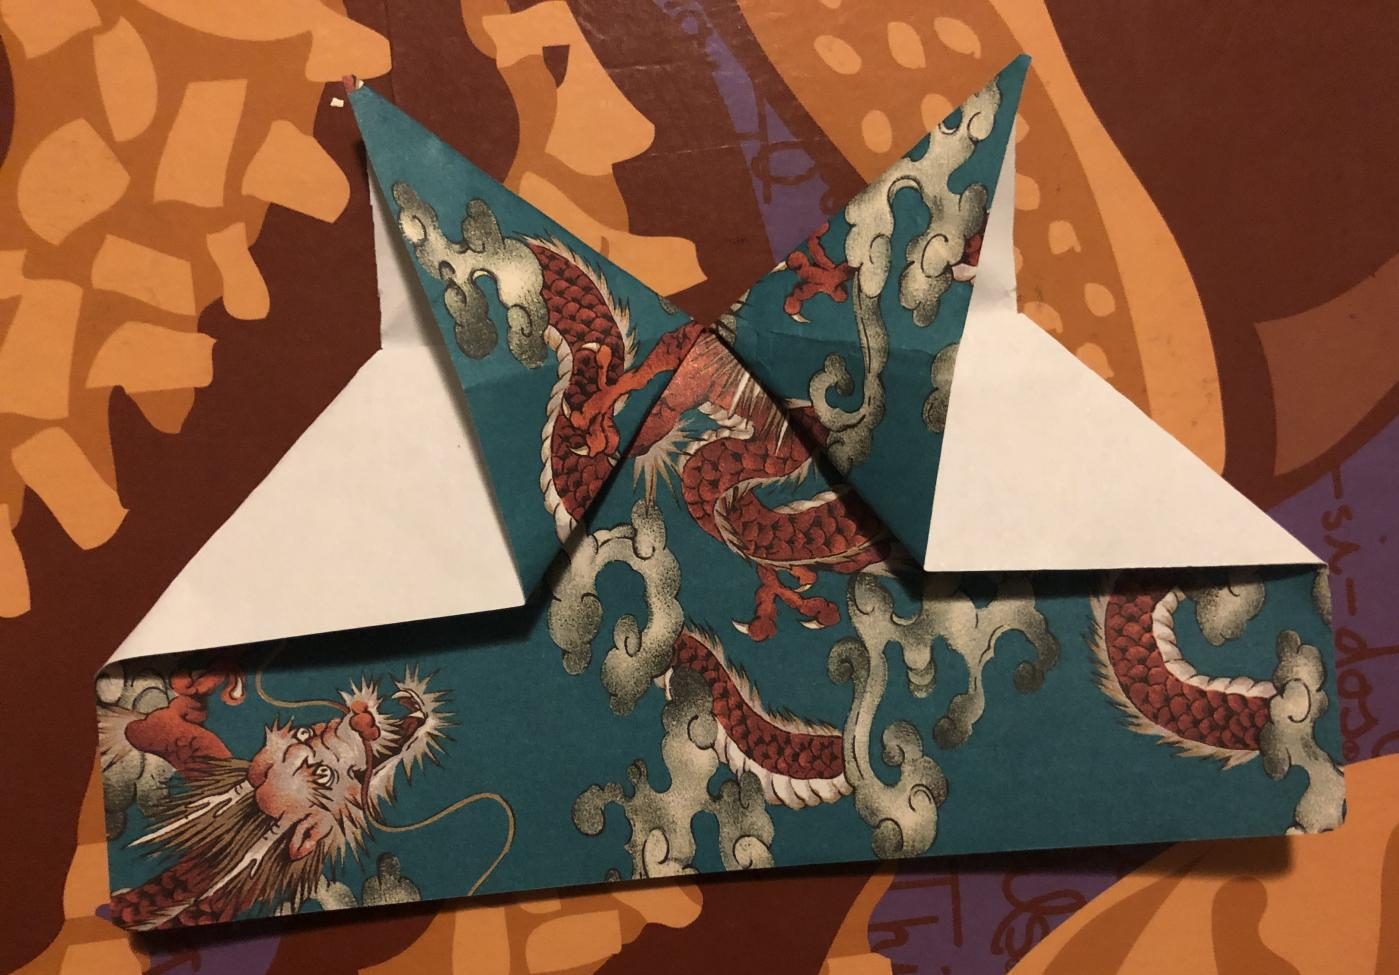
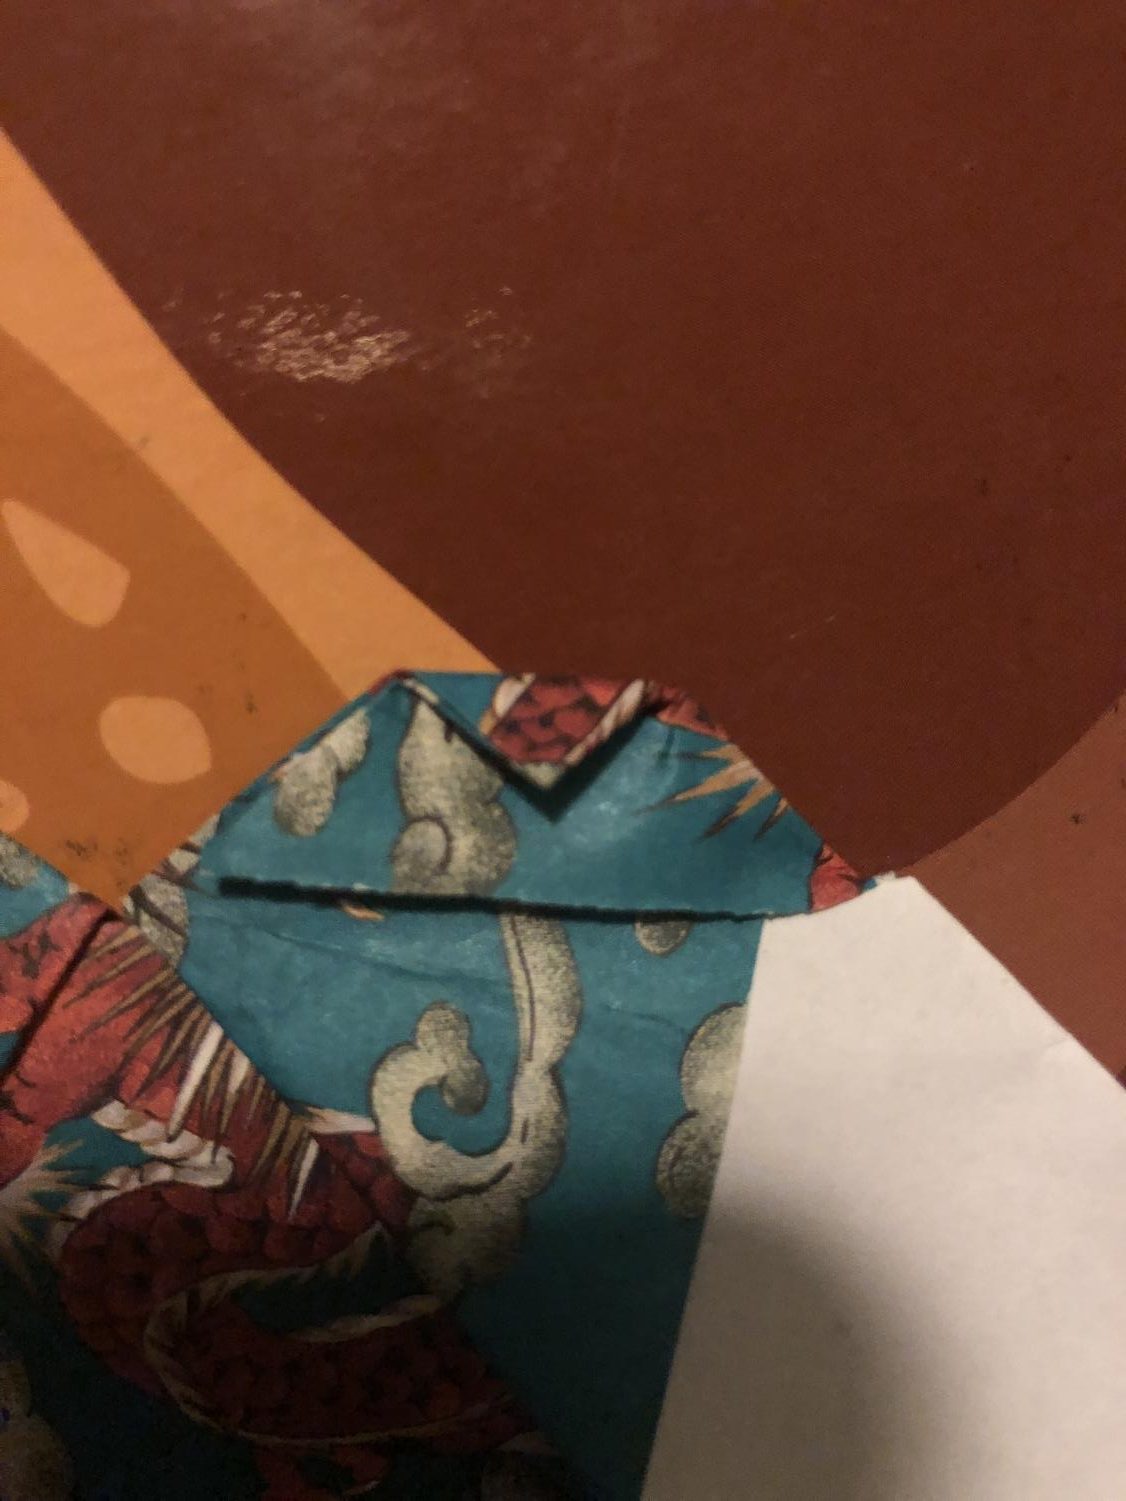
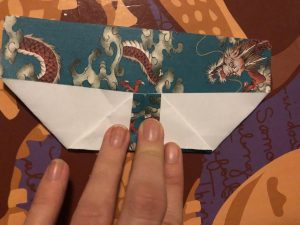
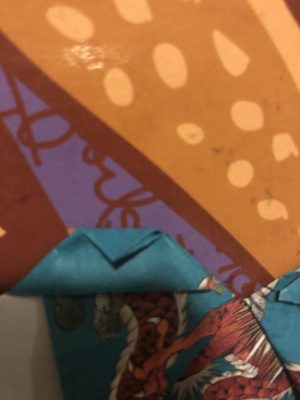
Step nine: Fold the inner middle corners, forming a V-shape.
-
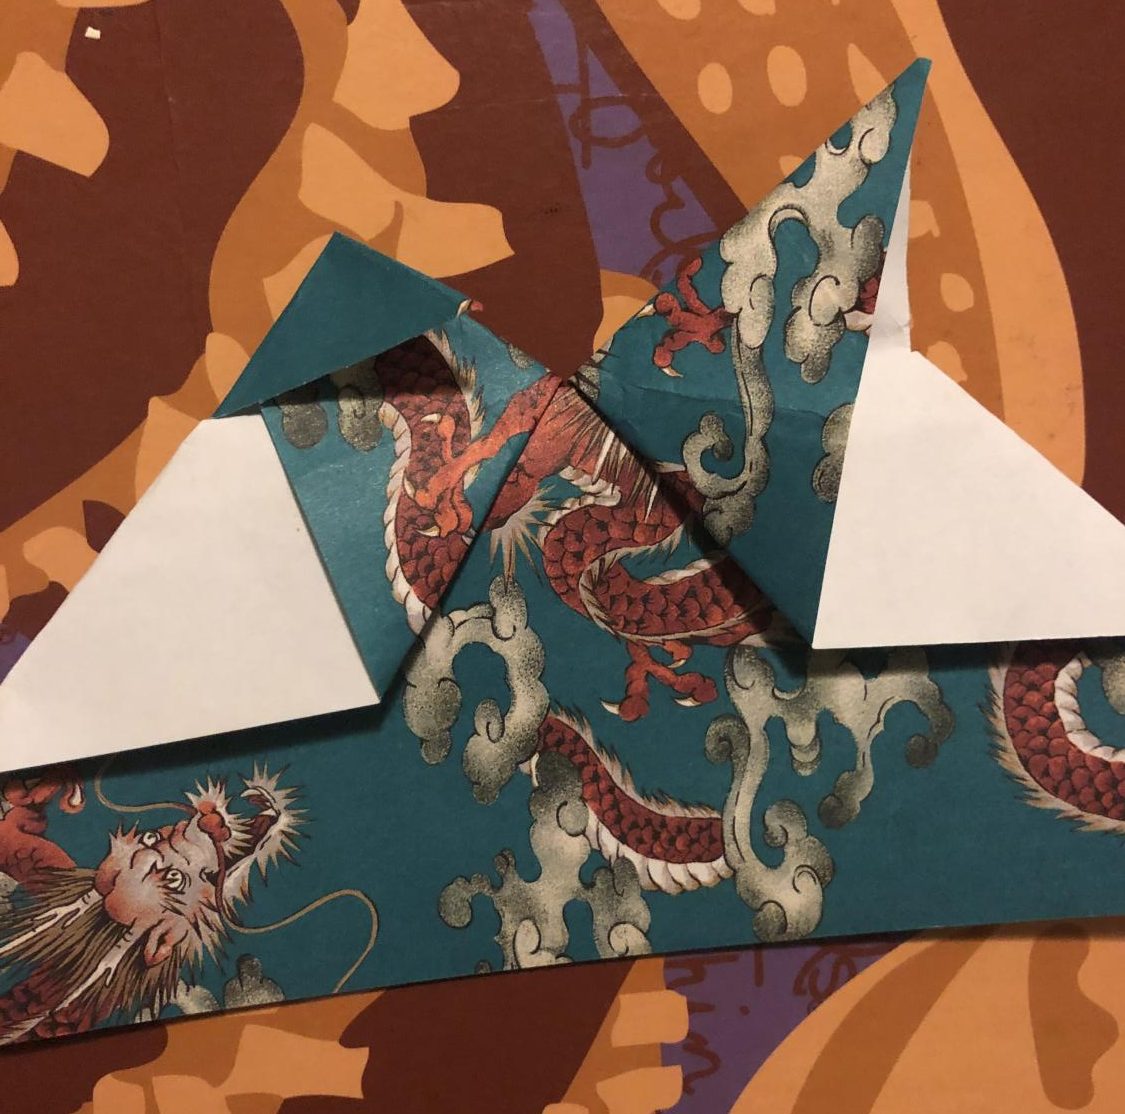
Step ten: Now fold the outer corners forming two pointy triangles as shown below.
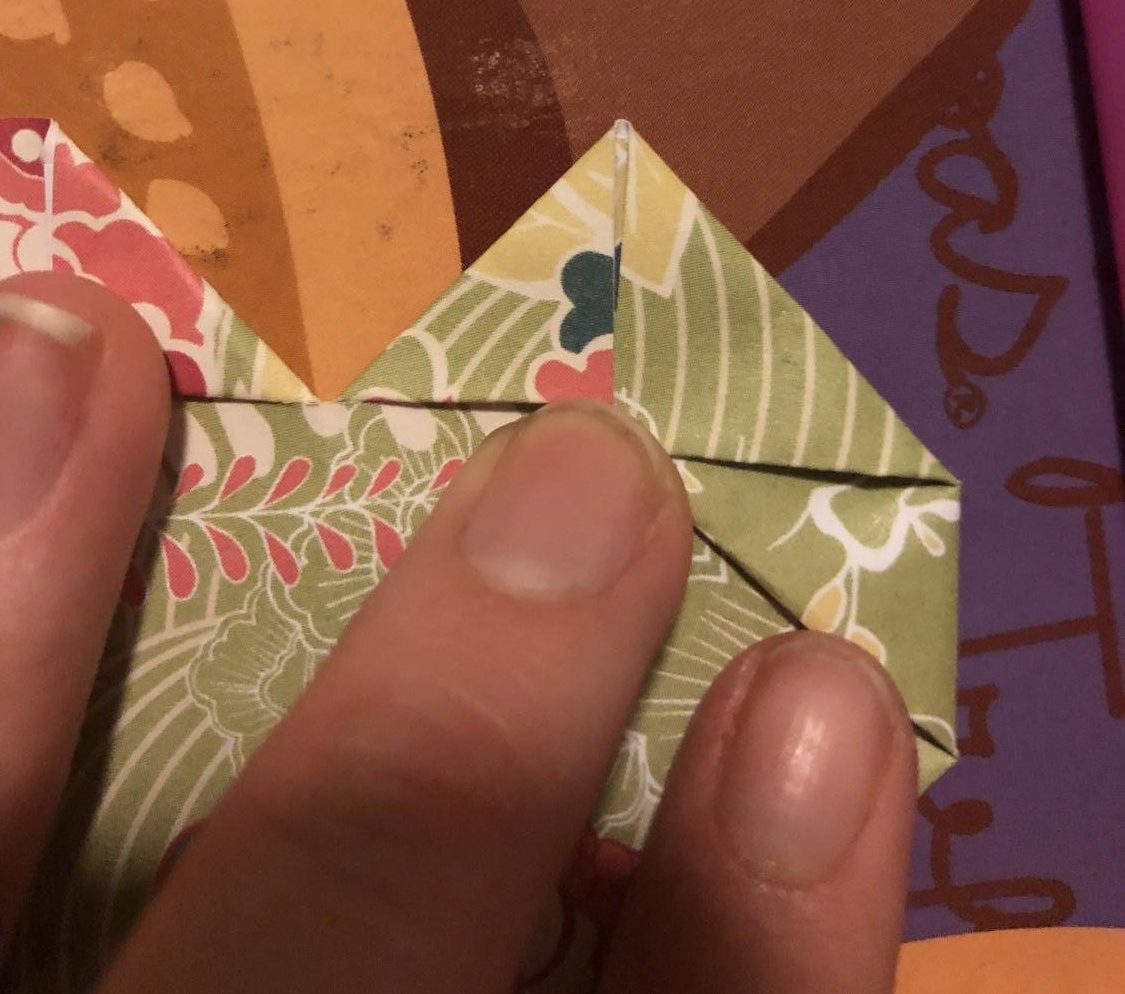
-
Step ten: Now fold the outer corners forming two pointy triangles as shown below.
-
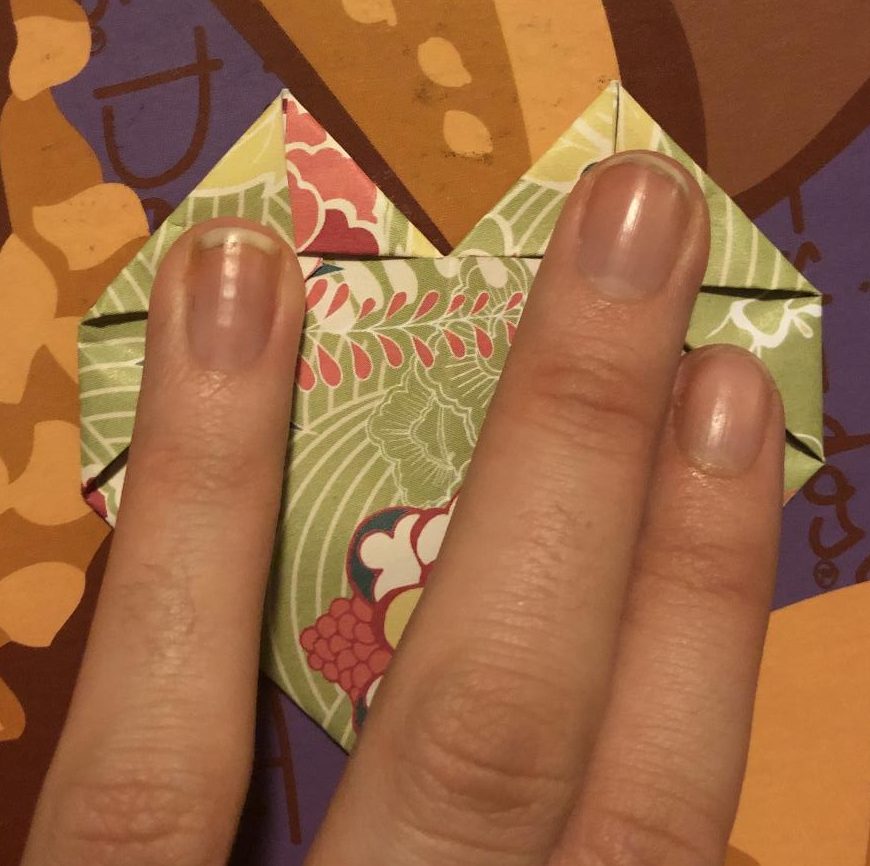
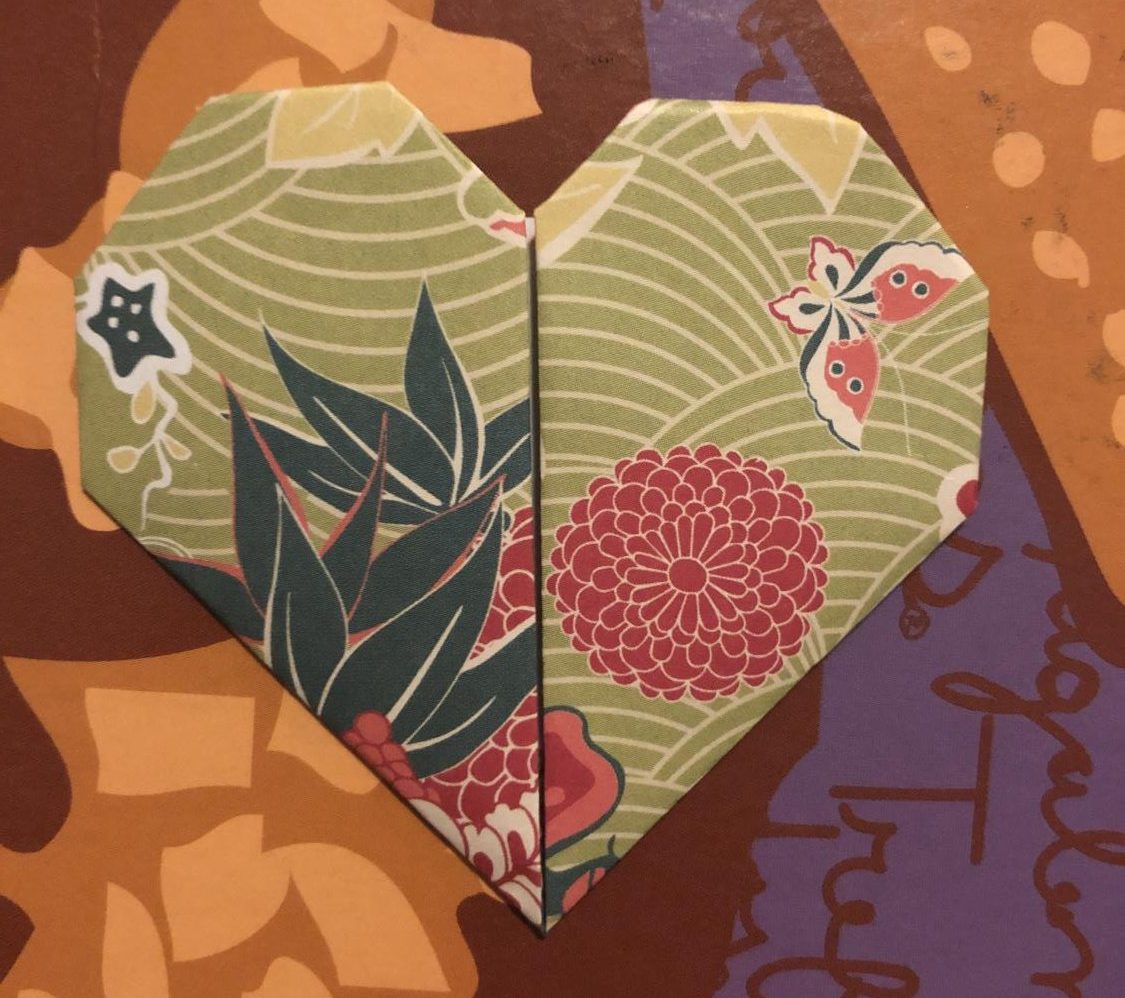
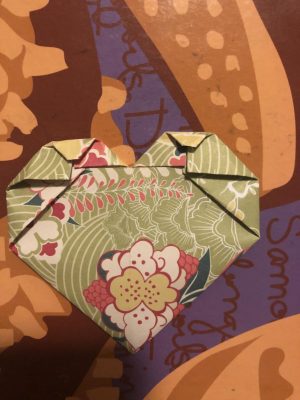
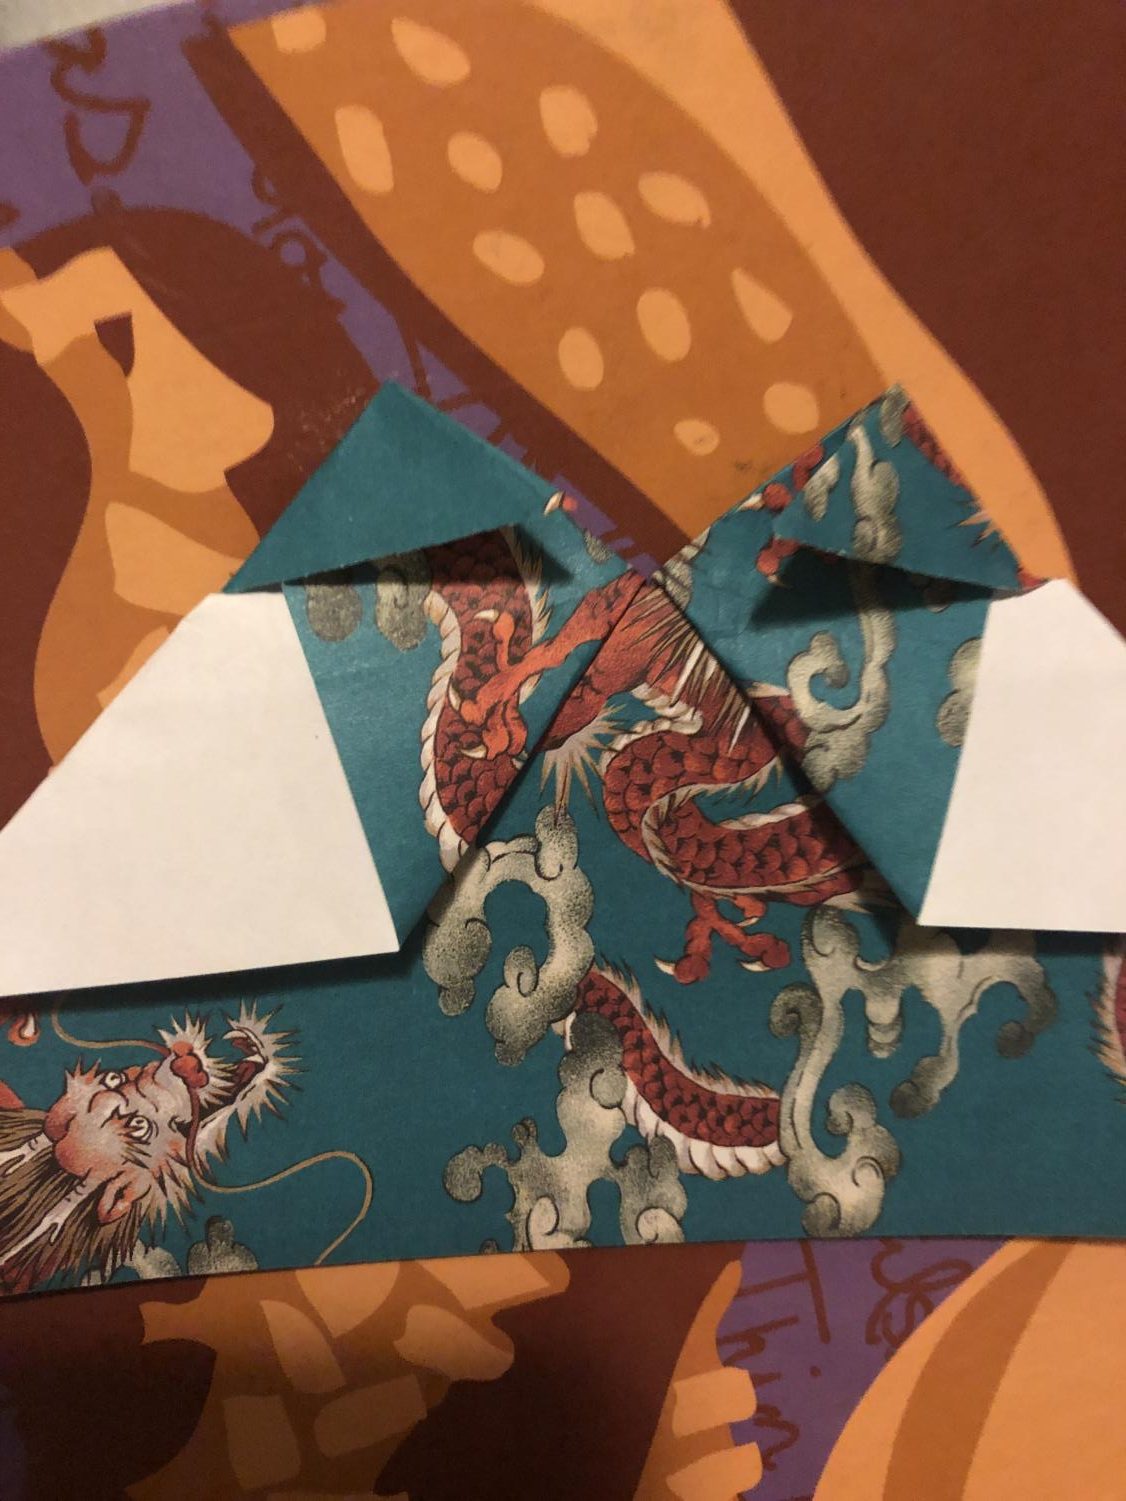
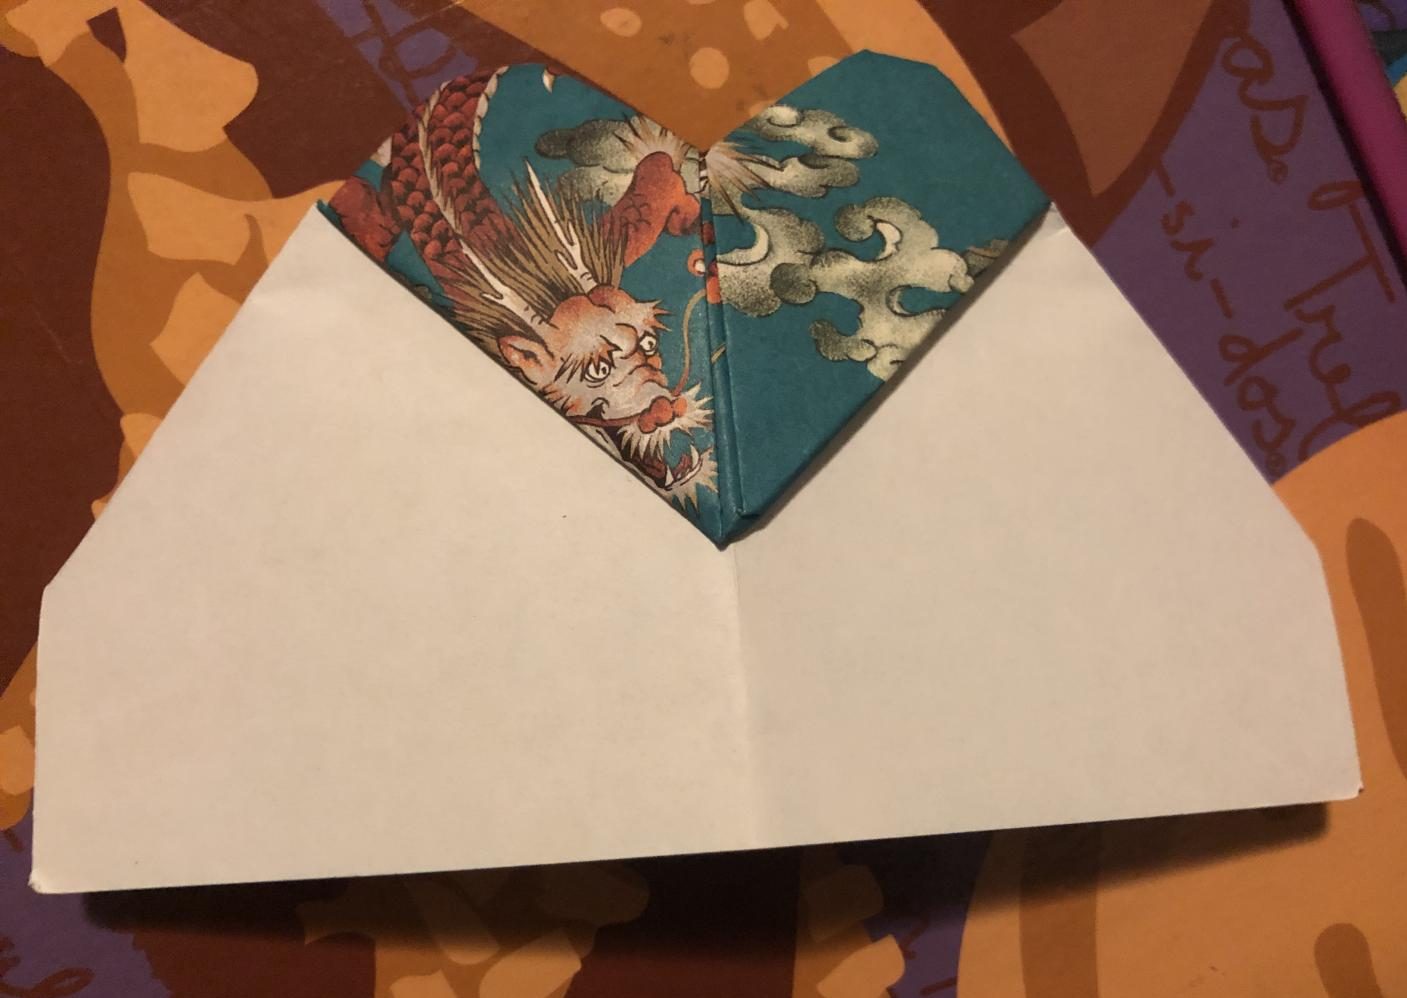
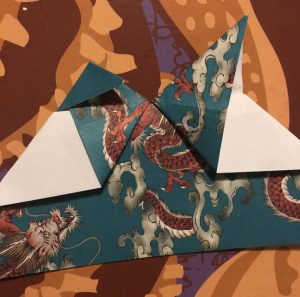
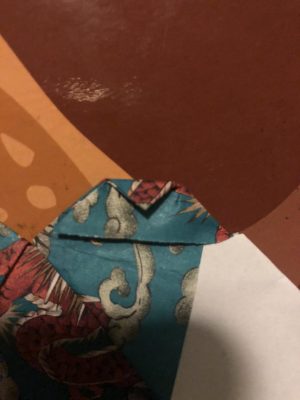
Step 11: Fold the two points in and flip the heart over.

-
Origami Hearts make fun gifts for your friends on Valentine’s!
-
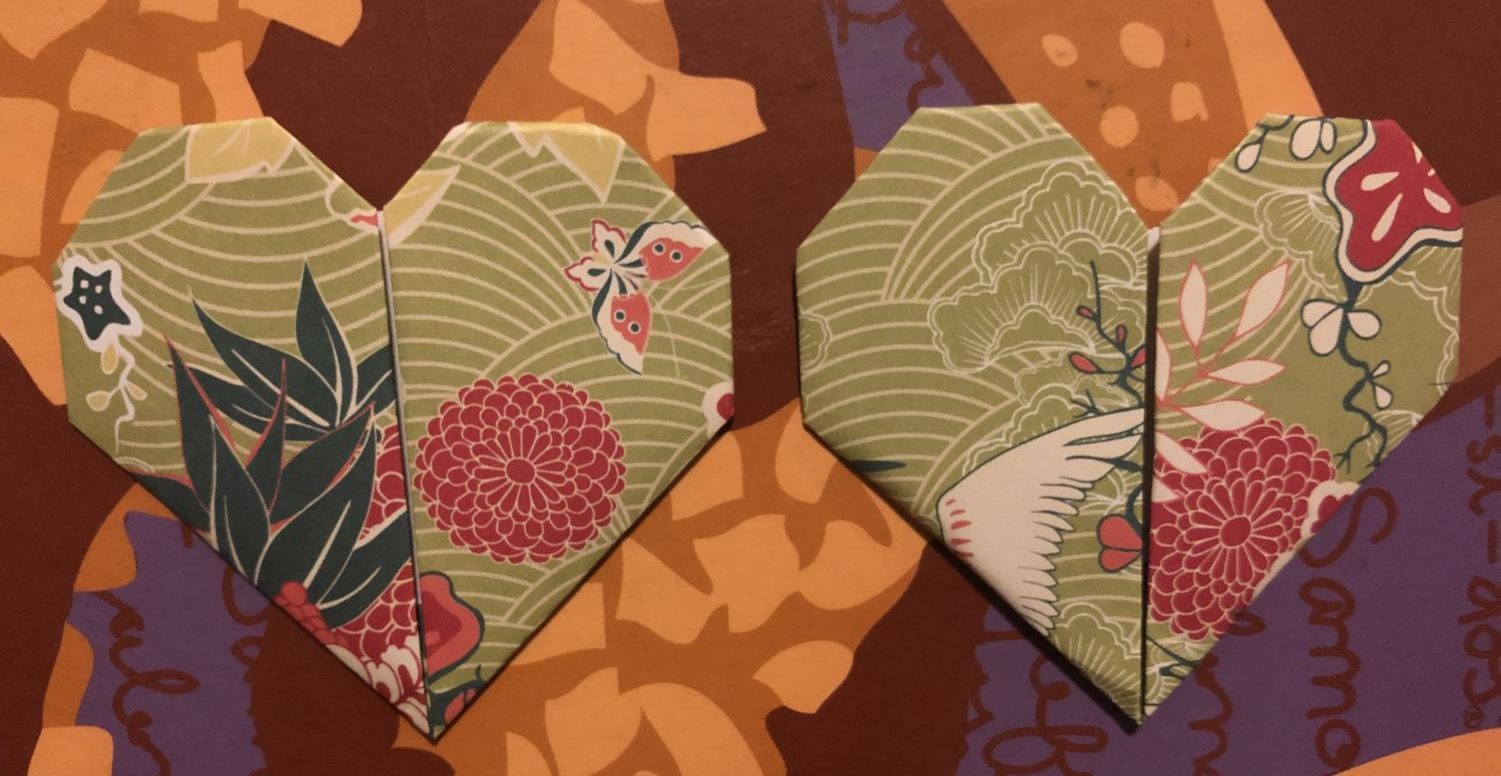
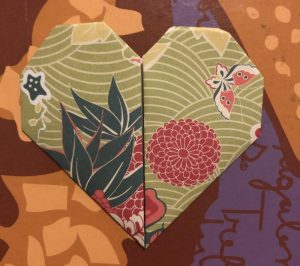
The other half sheet can be turned into another heart!


-
Love is in the air so here is a tutorial on how to make heart airplanes. Step one: Get out another piece of origami paper. For the heart airplane, we will not be needing scissors.
-
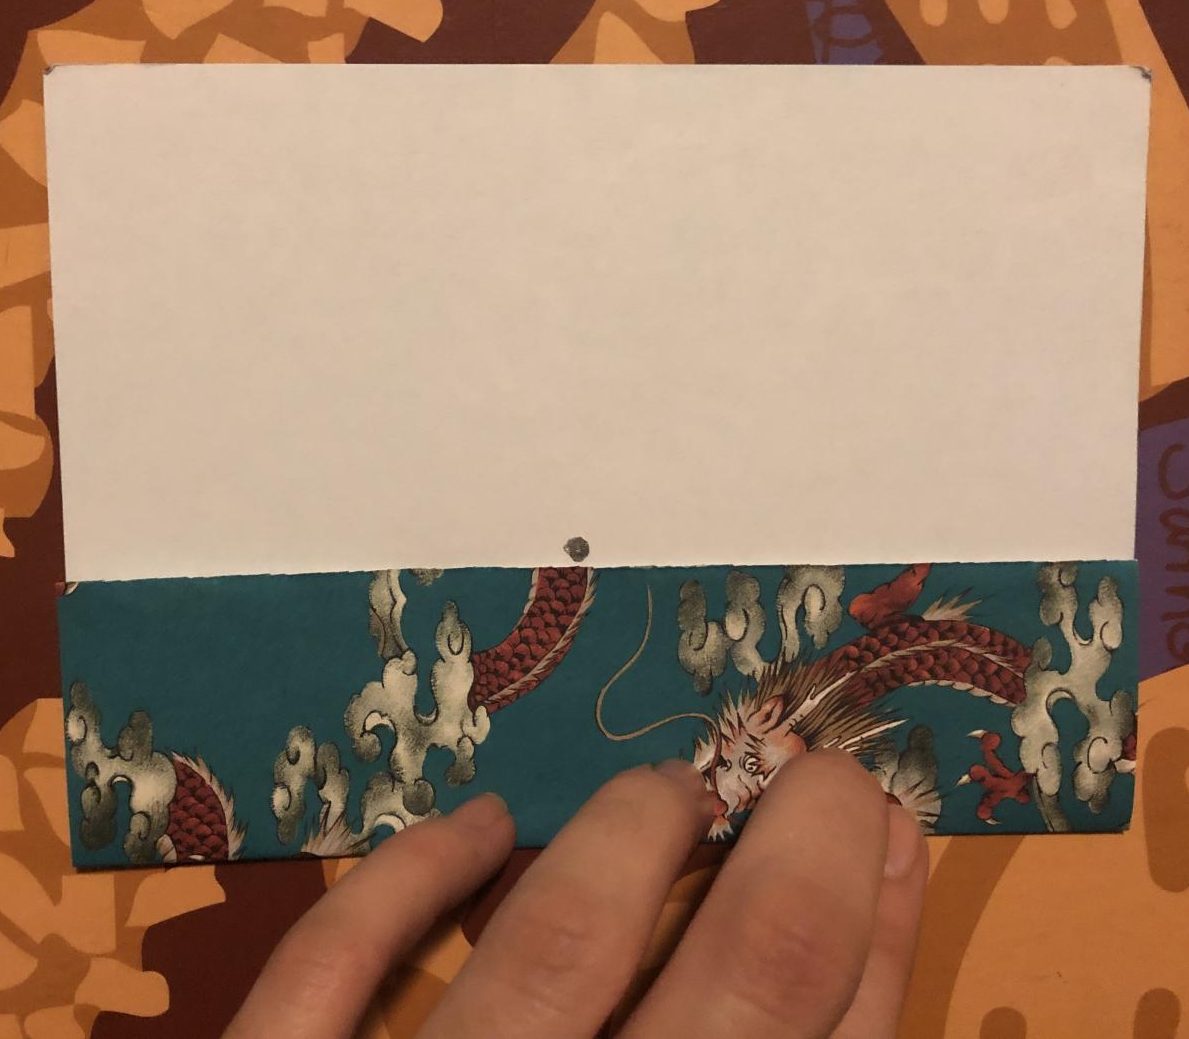
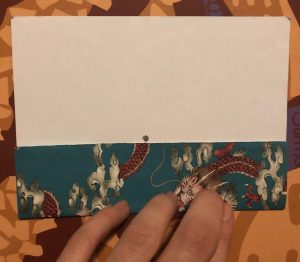
Step two: Flip the origami to the white side and fold the bottom partly way. There is a dot to show you approximately where to fold.
-
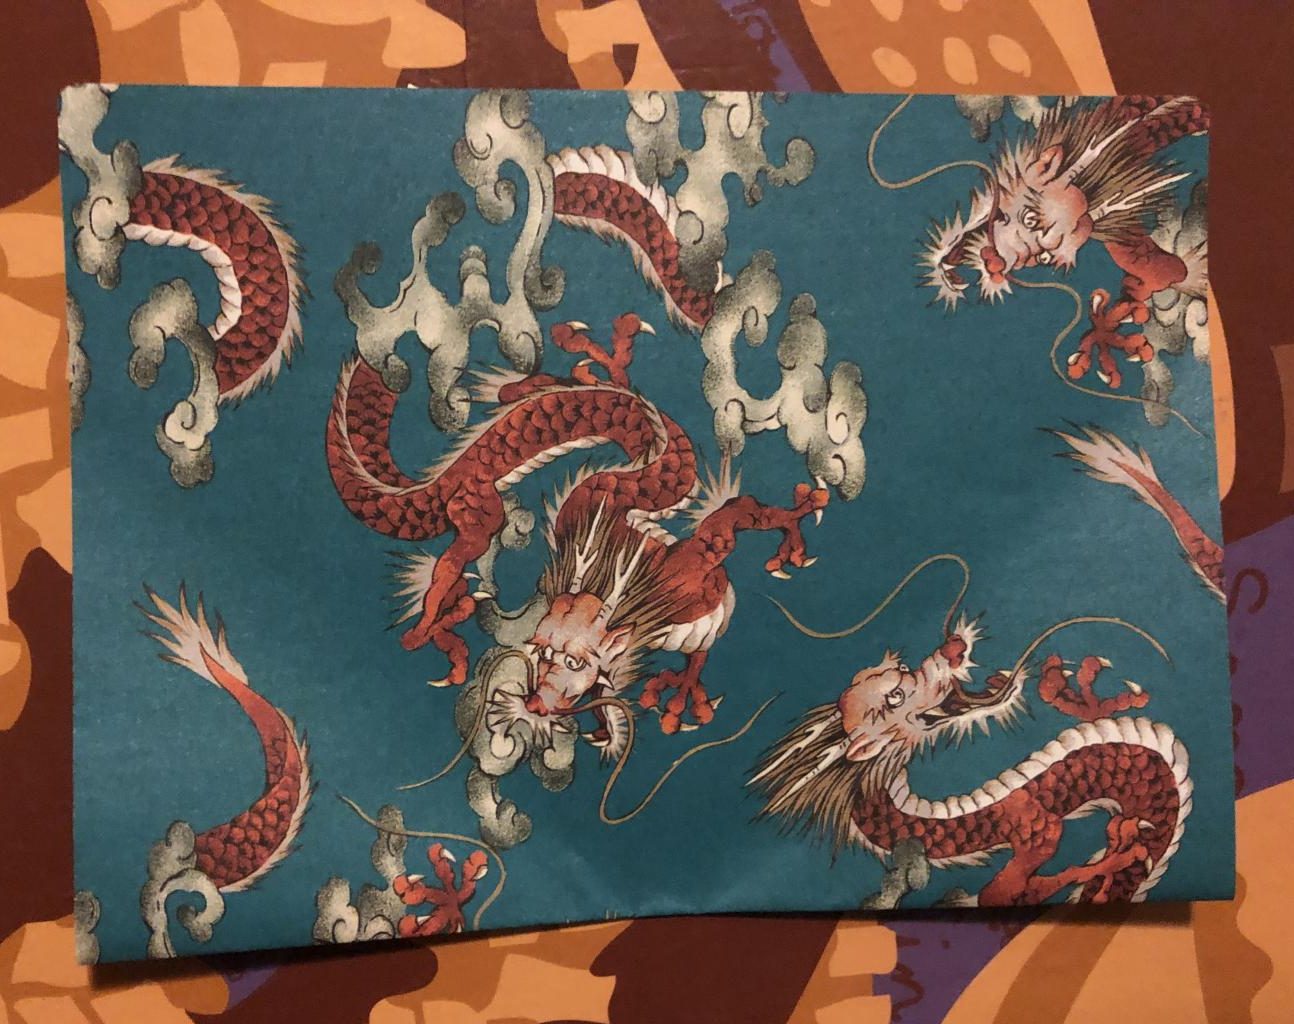
Step three: Flip the paper to the other side.
-
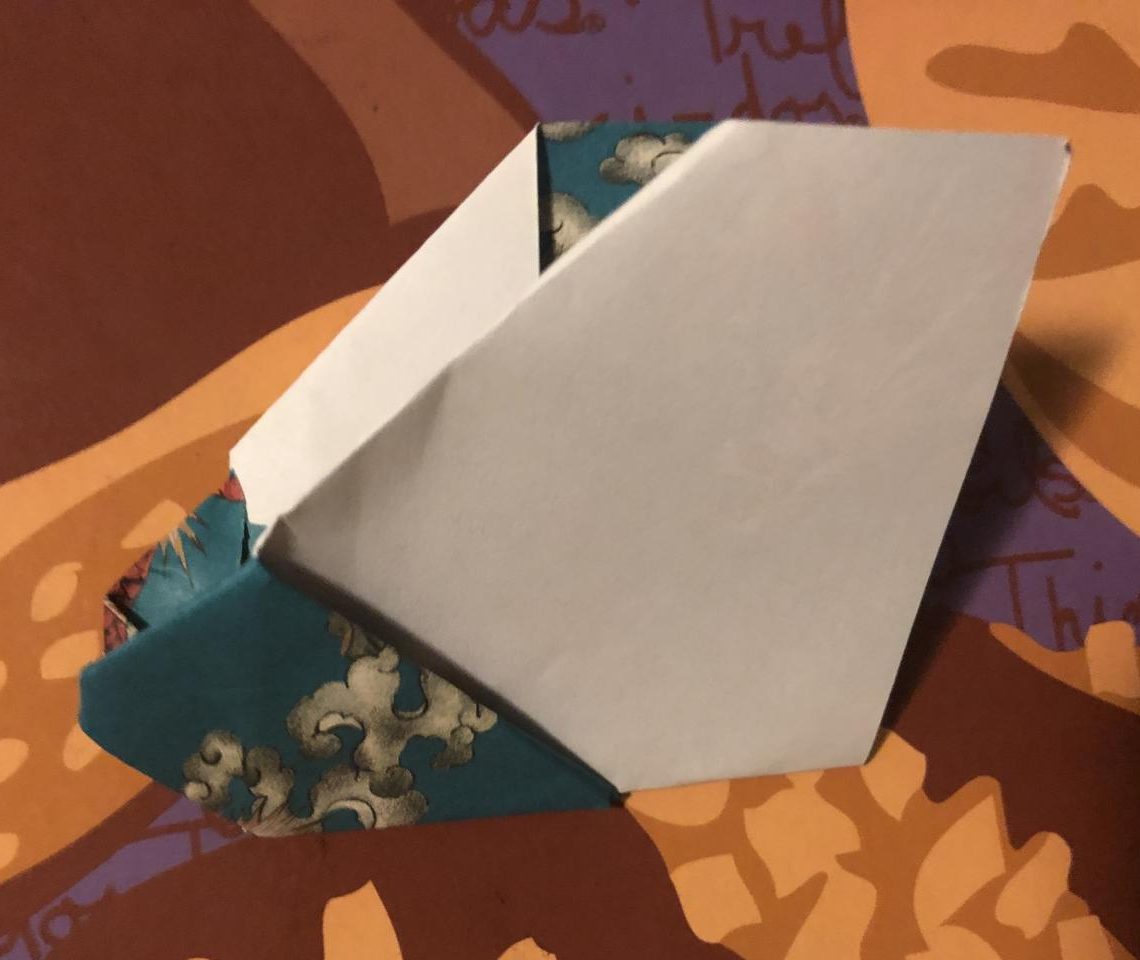
Step four: The bottom two corners should be folded up like you would for a regular paper plane forming a point.

-
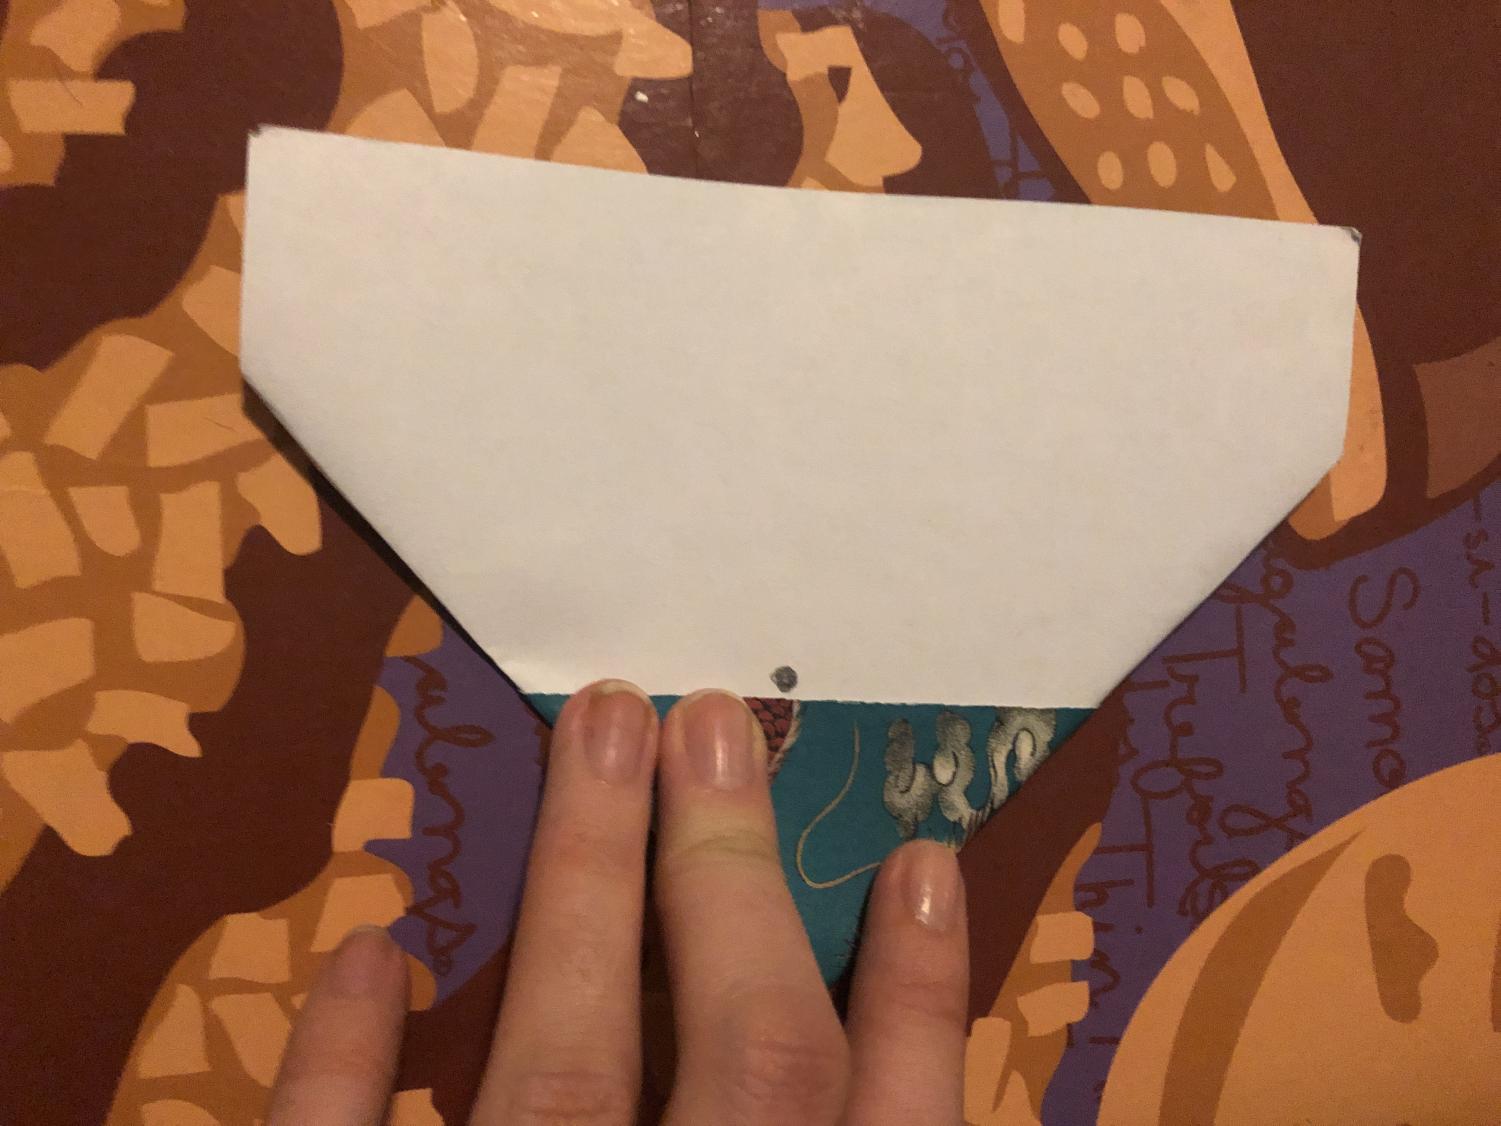
Step five: Flip the origami paper over again. Now fold the triangle over and make a crease where the dot is in the picture below.
-
Step five: Flip the origami paper over again. Now fold the triangle over and make a crease where the dot is in the picture below.
-
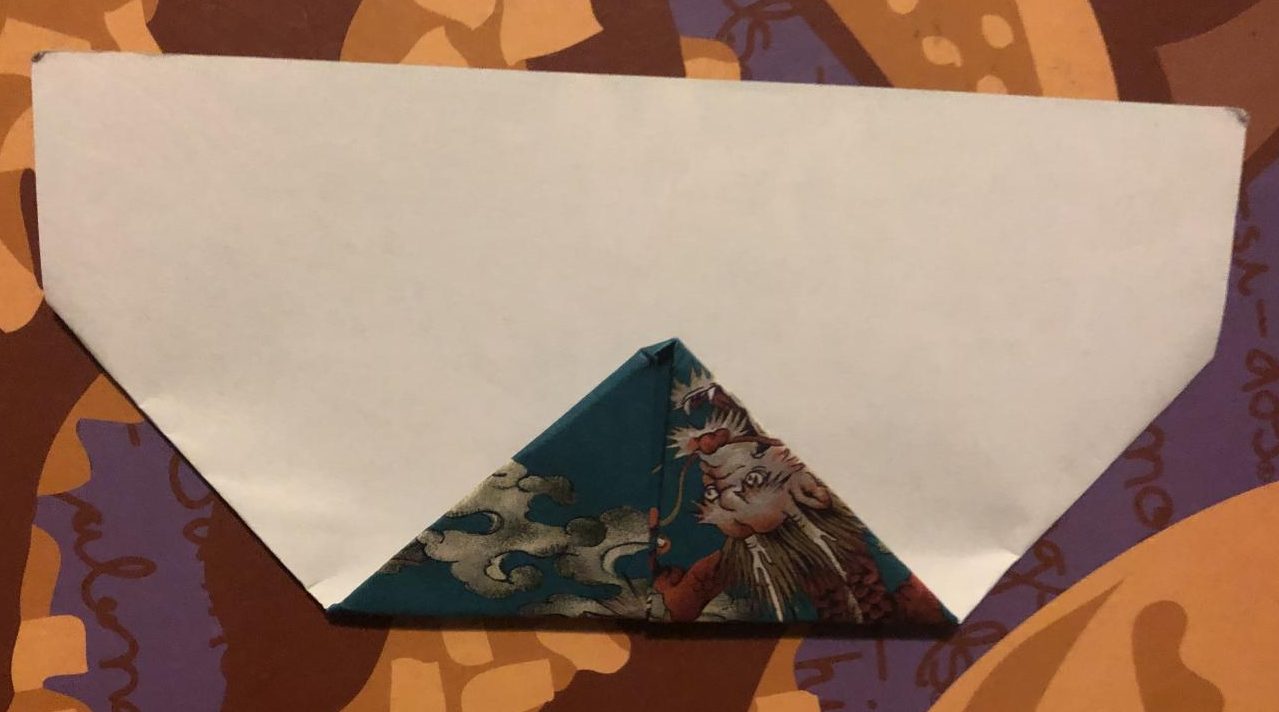
Step six: Flip it back over. Pull up the left hand corner of the first square and fold it down. Repeat the same step on the right corner of the second square.
-
Step six: Flip it back over. Pull up the left hand corner of the first square and fold it down. Repeat the same step on the right corner of the second square.

-
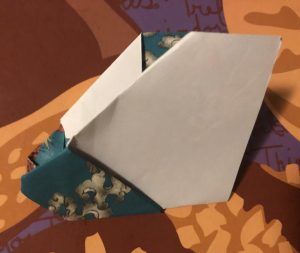
Step seven: This step is a bit more complicated which is why I made a video. For this step, open up the folds made in the previous steps and fold it down forming a triangle. It should look like the picture below.
-
Step eight: Fold the two points in half, lining it up to a point while creating a perfect
-
Step eight: Fold the two points in half, lining it up to a point while creating a perfect
-
Step nine: Fold the points down.
-
Step nine: Fold the points down.

-
Step ten: Fold in half and unfold.
-
And you are done!


Happy folding and have a happy Valentine’s day!

This will be my fourth and final year with the Raider Wire. I am the Editor-in-Chief along with Abby. I hope to actually become a real journalist one of...