How to Build the Perfect Bonfire
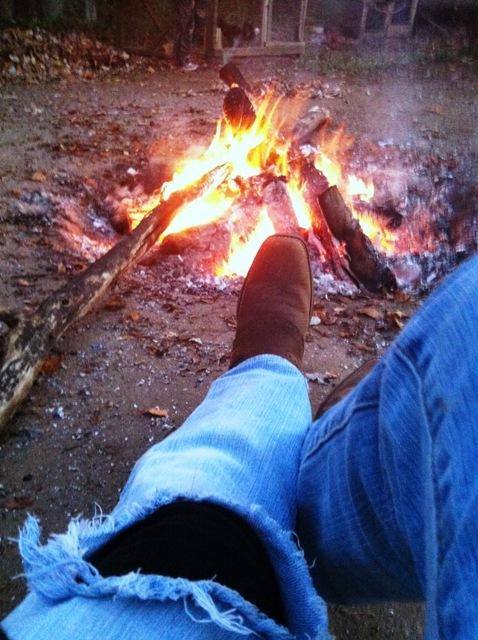
Bonfires are easy to conduct and entertaining. A hot bonfire on a cold autumn’s night is perfect for the seasons’ spirit. The fore fills you with physical and emotional warmth as well.
November 20, 2014
As days are becoming shorter, the leaves are turning an array of colors, and delicately gliding off of the trees. Evenings are coming alive, and the most popular event of this season is building a bonfire. Whether you are learning to build a fire for fun, warmth, or survival skill, this is the perfect guide. Before long, you will realize that making a bonfire if fun and easy to do. Your friends will wonder how you became so skilled in the art of constructing a fire. They will want to know how you do what you do and they will be jealous of your knowledge. Fire making is a simple skill that requires little to no time to achieve, and it may come in handy as well. Preparation: You will need to clear a spot outside and ensure that the spot that you have picked has no dry leaves or grass that can easily burn. You will also want this are to be a place where you are permitted to dig, because you have to dig a hole about 2 feet in diameter and ½-1 foot down for the fire pit. Make sure the hole is big enough and deep enough to support multiple layers of wood. After the hole is dug, surround the outside of if with rocks for more insulation and a safety barrier. Materials: To build the perfect fire, you are going to need several types of wood. Tinder is the first kind. Tinder is small, dry, twigs or sticks that can be used to easily ignite a fire. Also, you are going to need kindling. Kindling is similar to tinder, but its slightly larger, and used get the fire started. Then you are going to need logs, which are larger than regular out in the yard, but are not as big as full grown tree trunks. They are used to build up a bed of coals so that you can put larger amounts of wood that will last longer onto the fire. Set-up: Start by pulling the tinder in the center of the fire pit. Shape the structure like a teepee. Evenly spread it, so you can use it for insulation later in the set-up. Next, you need to place the kindling on top of the tinder spread, but leave an opening big enough to fit your hand through to the tinder to allow oxygen to flow. Then, place the logs around the kindling, still leaving a space that permits you to see and reach the tinder. Procedure: You may light the bonfire now. Start by safely lighting the internal structure. You can use paper or a small stick that will allow you to light the internal structure of the set-up without getting burned. To do so, light the paper or stick and toss it quickly through the gapped structures that you have already fixed. You can put larger logs onto the fire after the smaller logs have been burned to ember so the fire can keep burning. Enjoy your Autumn inspired, hot, crackling, and perfect bonfire! Caution: After you are finished with your fire, make sure that it is put completely out. You should keep a bucket of water around the area that the fire is being built at all times. The water will be for the extinguishing of the fire. You do not want to catch the woods or area that you built the fire at on fire. Please follow these directions to prevent unwanted mishaps within the steps from happening.